In this article, we guide you through the evolution of Apple’s operating system, from the first public release in 2001 to the latest macOS Monterey announced at WWDC 2021 on June 7.
Is there any difference between Mac OS X and macOS?
No, they are essentially the same thing — just named differently. In fact, three terms were used at different times with reference to Apple’s operating system: Mac OS X, OS X, and macOS. Mac OS X was the official naming through version 10.7, from 2001 to 2011. In the next four years, the OS X names were used. Finally, Apple shifted to "macOS" with the release of macOS High Sierra in 2016. The latter helped standardize the naming of Apple’s operating systems — macOS, iOS, tvOS, iPadOS, etc.
List of macOS versionsBrief backstory. In 1996, Apple purchased NeXT, the company Steve Jobs built after he had left Apple. The same year, Jobs returned to Apple and helped build the first Mac OS that could compete with Windows. That’s when it became obvious Apple could grow to become a big player.
The first ancestor of the macOS family was Mac OS X Public Beta released in 2000, followed by a public release of Mac OS X 10.0 in 2001. Let’s recount the stories of all Mac OS X versions, up to the current macOS.
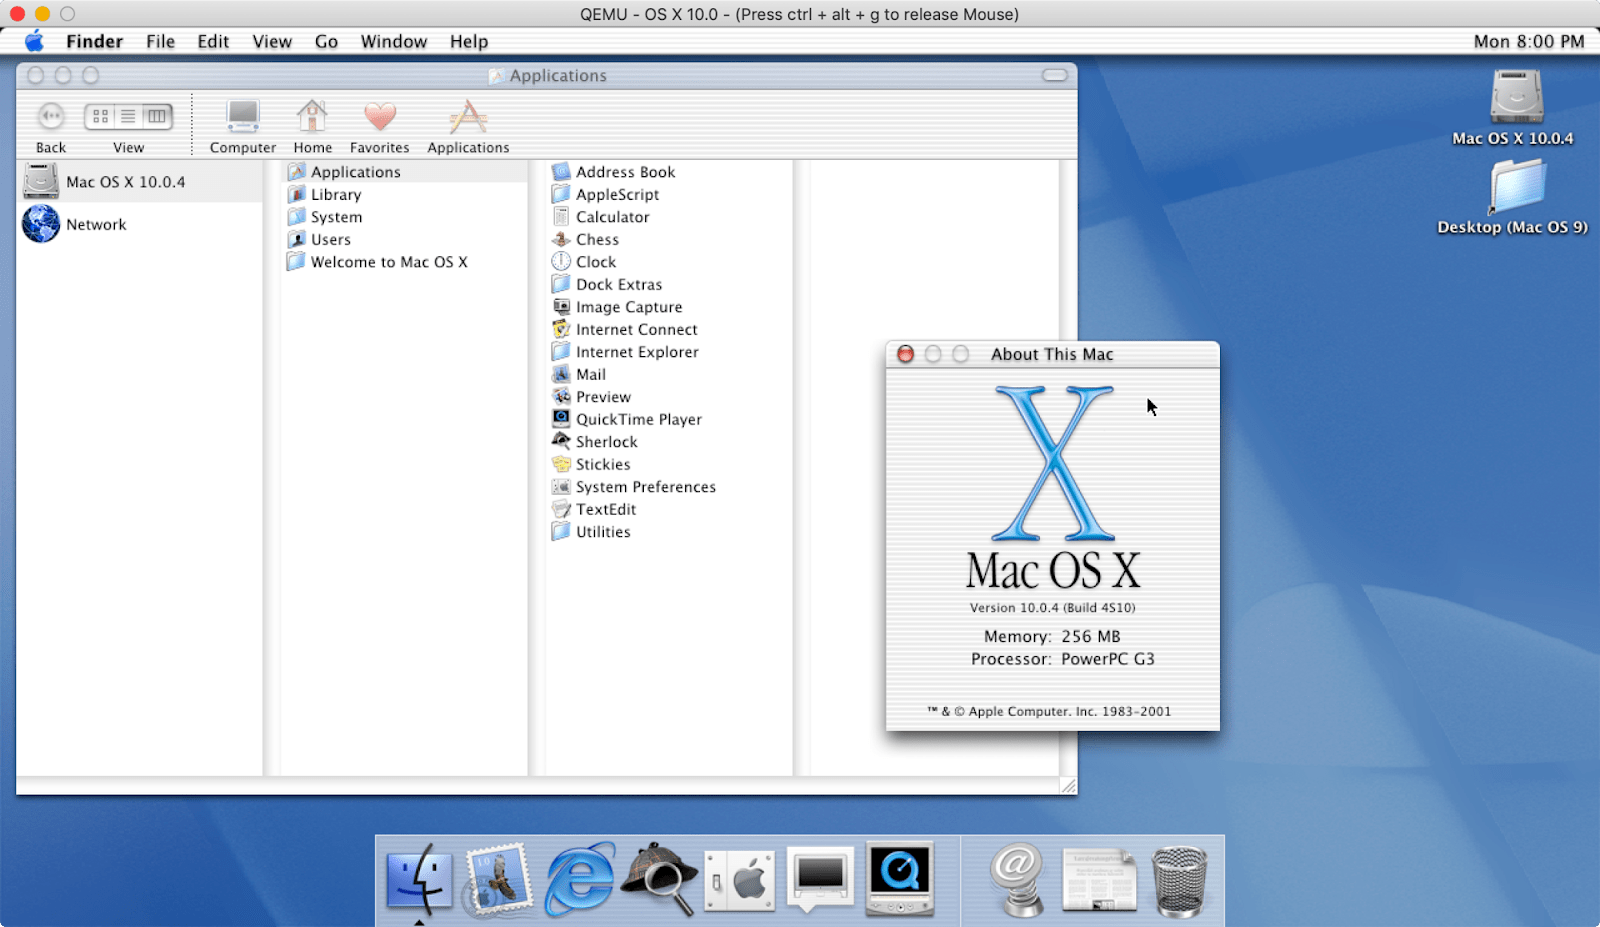
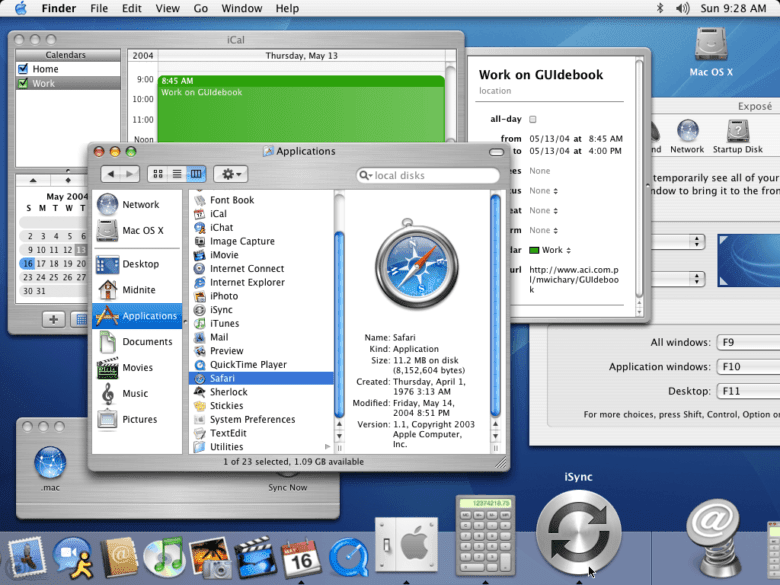
1. Mac OS X 10.0 (Cheetah)March 24, 2001: Aqua interface is born with Mac OS X Cheetah. It’s a big step in the evolution of graphical interfaces, with 2D and 3D graphics support, granting an all-new visual experience. Cheetah featured a water theme, which, according to Steve Jobs, "one wanted to lick when they saw it." Beauty comes at a cost, though. Graphics improvements made Cheetah very slow, which prompted Apple to shift focus from visual experience to perform in the next release.
source: Apple Wiki | Fandom
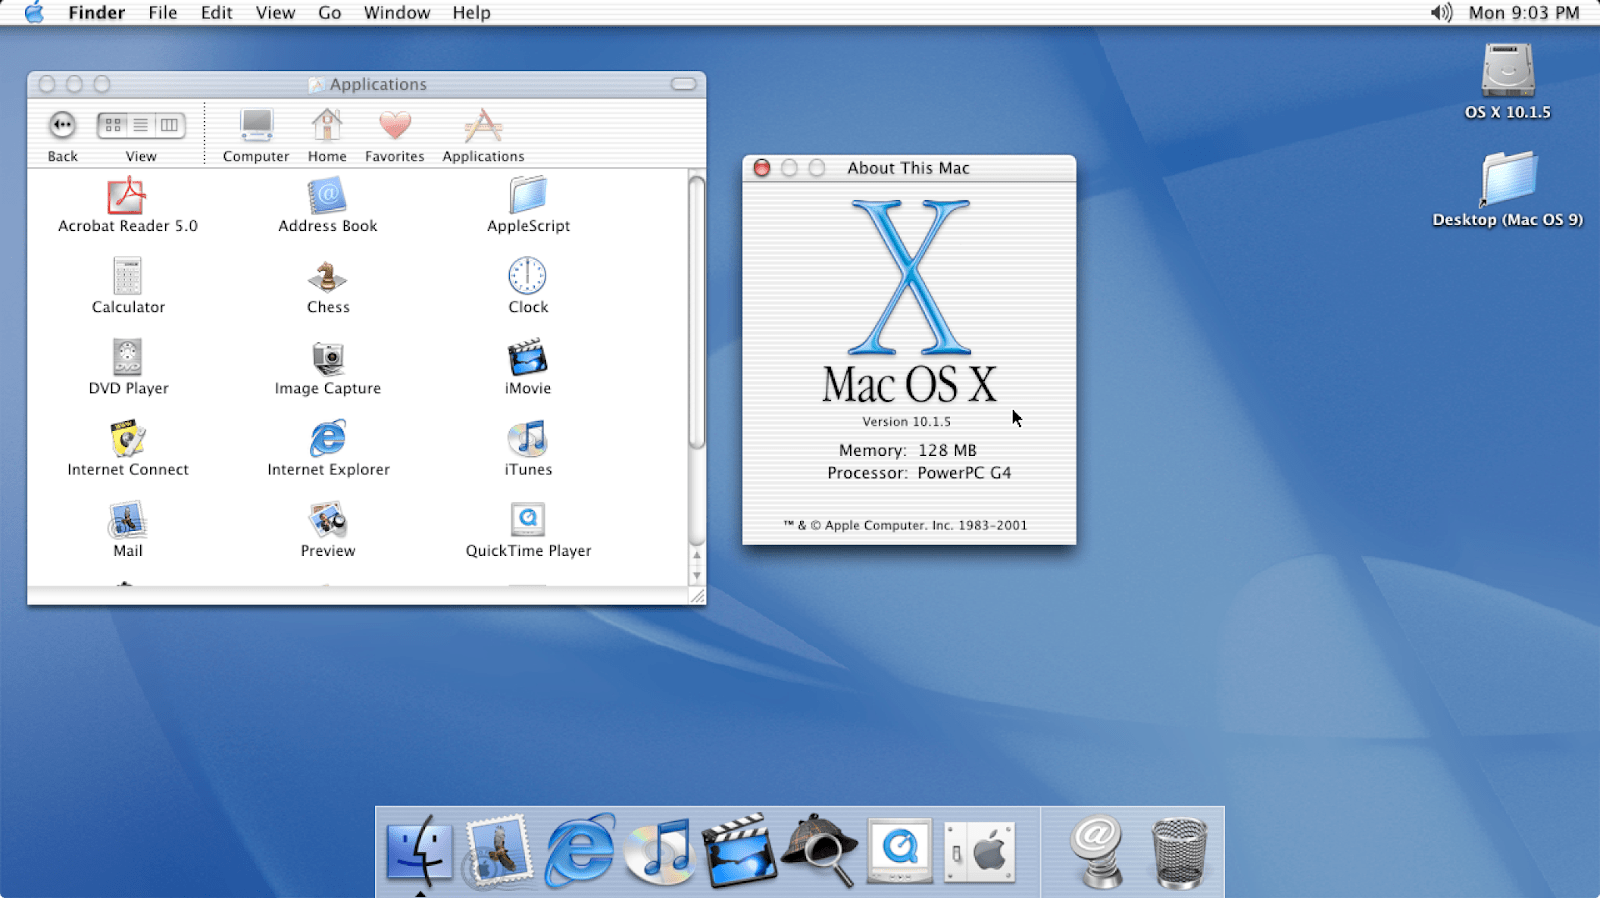
2. Mac OS X 10.1 (Puma) September 25, 2001: As you might have noticed, the first generation of Apple’s operating systems was named after animals. Puma arrived with a solid performance boost and a few other functional improvements such as simplified CD and DVD burning, new features in Finder, and more extensive printer support.
source: Apple Wiki | Fandom
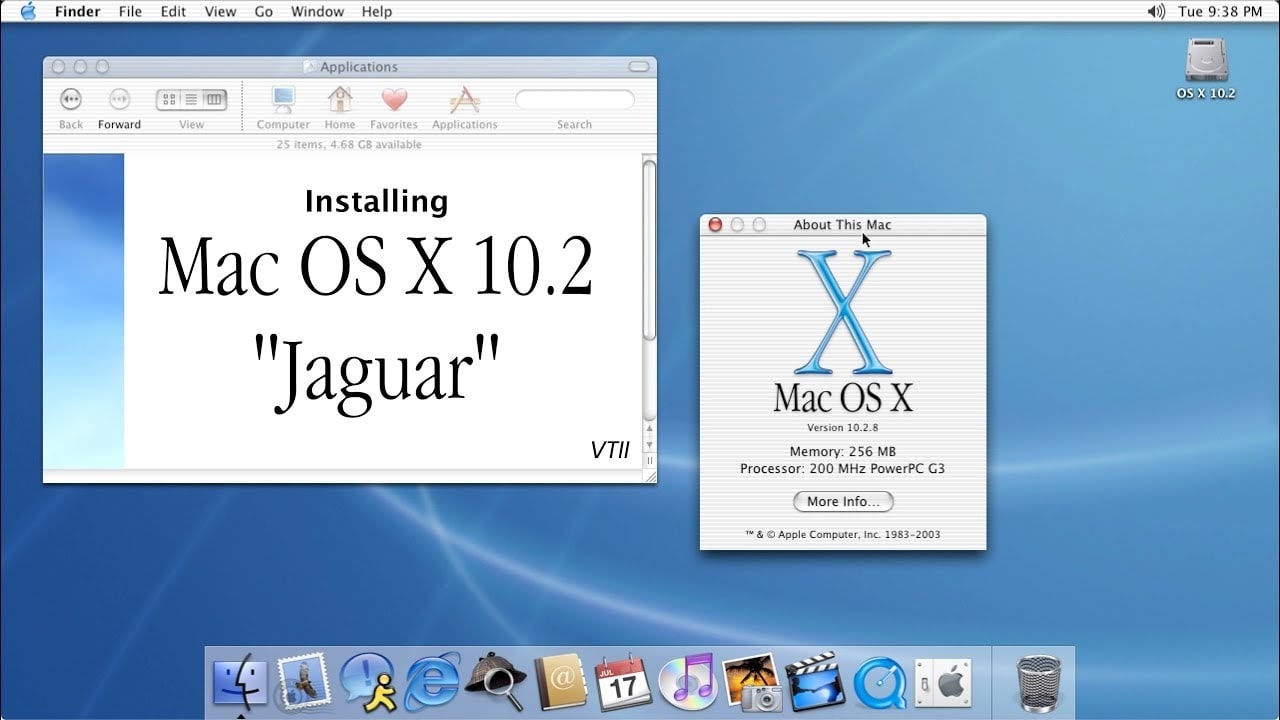
3. Mac OS X 10.2 (Jaguar)August 23, 2002: The third release of Mac OS X added search to Finder (can you imagine it, Finder used to exist without it!) Jaguar also brings MPEG-4 support for QuickTime, a range of privacy features, and, for the first time, Accessibility API called Universal Access. Some of the apps born with this release continue living on Mac even today (for example, Address Book, which is now called Contacts).
source: VTII Technology
4. Mac OS X 10.3 (Panther)October 24, 2003: Meet Safari! The first official web browser made by Apple replaces Internet Explorer on Mac. In fact, Safari was available on Jaguar but it’s the first release where it becomes a default browser. Other than that, Panther adds 150+ new features, including Font Book, Xcode enhancements, and more.
source: Cult of Mac
5. Mac OS X 10.4 (Tiger)April 29, 2005: Did you think Apple TV is pretty new? Well, guess what, it was born in 2005, with the release of Apple’s fifth operating system! Tiger was a pretty big update. It featured Spotlight search, Automator, VoiceOver, and around 200 other improvements. During this time, Apple also switched to Intel’s processors, which made Tiger the first system operating on Macs with Intel chips.
source: Wikipedia
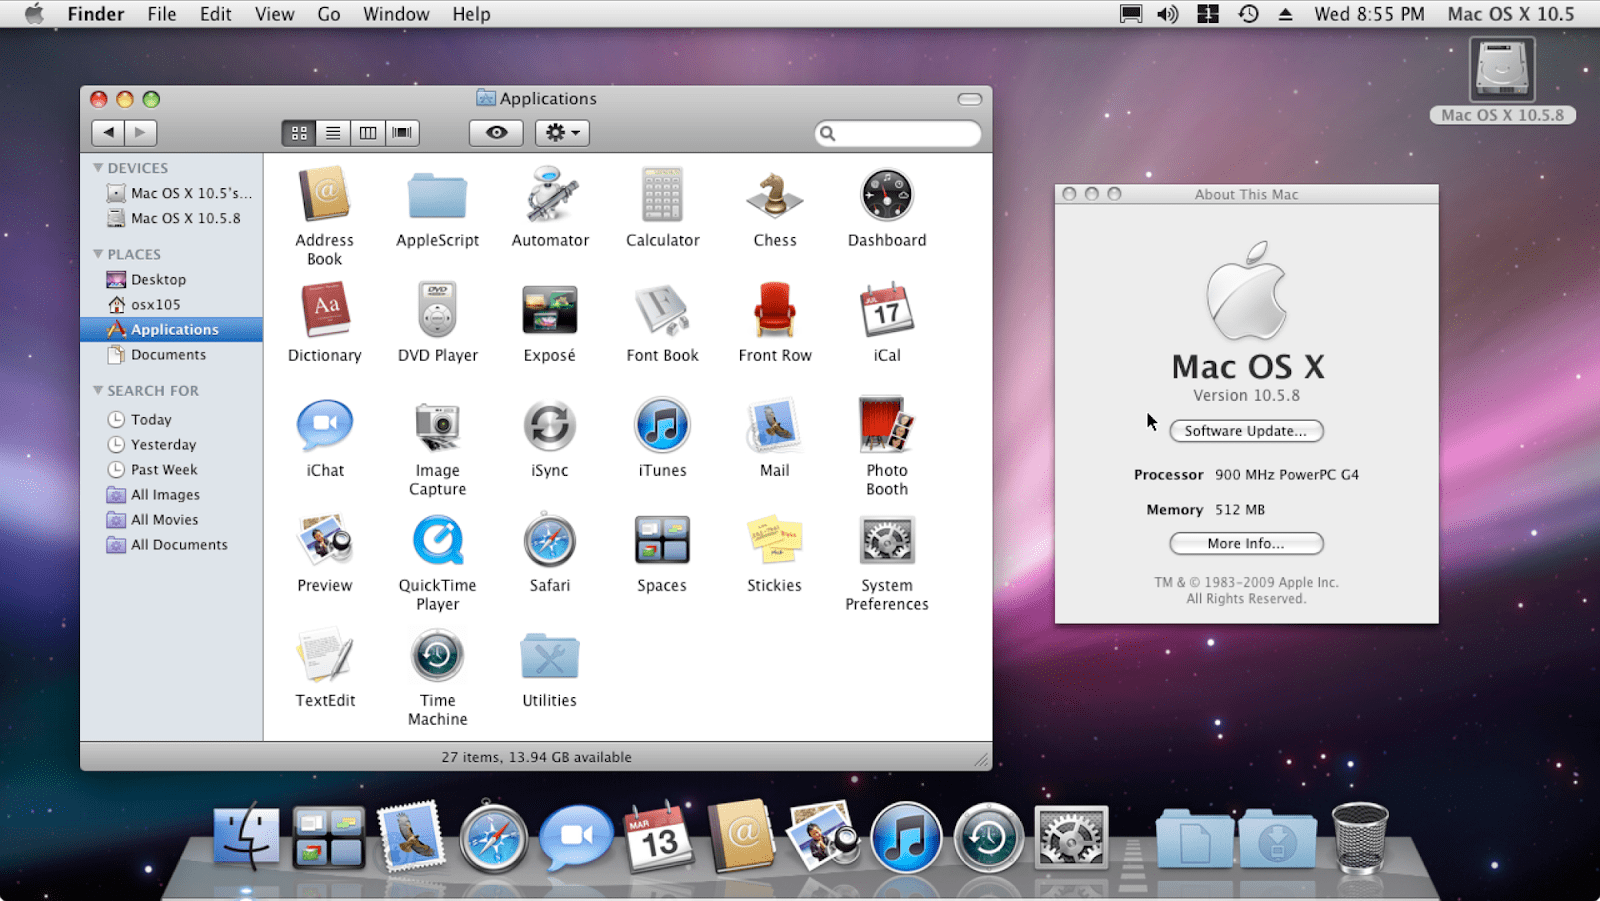
6. Mac OS X 10.5 (Leopard)October 26, 2007: Here comes Leopard, one of the most Mac-changing systems. This time, Mac’s desktop changes significantly, with Dock, a new menu bar, and Stacks. Time Machine, Spotlight enhancements, and support for 64-bit apps arrive too. In fact, Leopard featured so much new stuff that Apple even had to delay the initial release date to finish it all in time.
source: Apple Wiki | Fandom
7. Mac OS X 10.6 (Snow Leopard)August 28, 2009: Leopard’s successor, Snow Leopard, focused on expanding 64-bit architecture. Most of the native applications were rewritten in 64-bit. Back then, experts used to say that was the first step to a full transition, which, as we know it today, became true. Also, the App Store was born in the Snow Leopard era.
source: Wikipedia
8. Mac OS X 10.7 (Lion)July 20, 2011: With Lion, Apple brings lots of useful enhancements from iOS to Mac OS. Launchpad, multi-touch gestures, and more. Interestingly, many people criticized Mac OS X 10.7 for the so-called "natural scrolling," which moved the content up when you scroll down. Back then, it seemed more natural to have the content move down — as Windows did it.
source: iXBT
9. OS X 10.8 (Mountain Lion)July 25, 2012: Major apps like Notes, Reminders, and Messages arrive from iOS, turning Mac into a more comfortable spot for managing your daily routine. The most significant update in Mountain Lion is Notification Center, with on-screen banners communicating updates.
source: iXBT
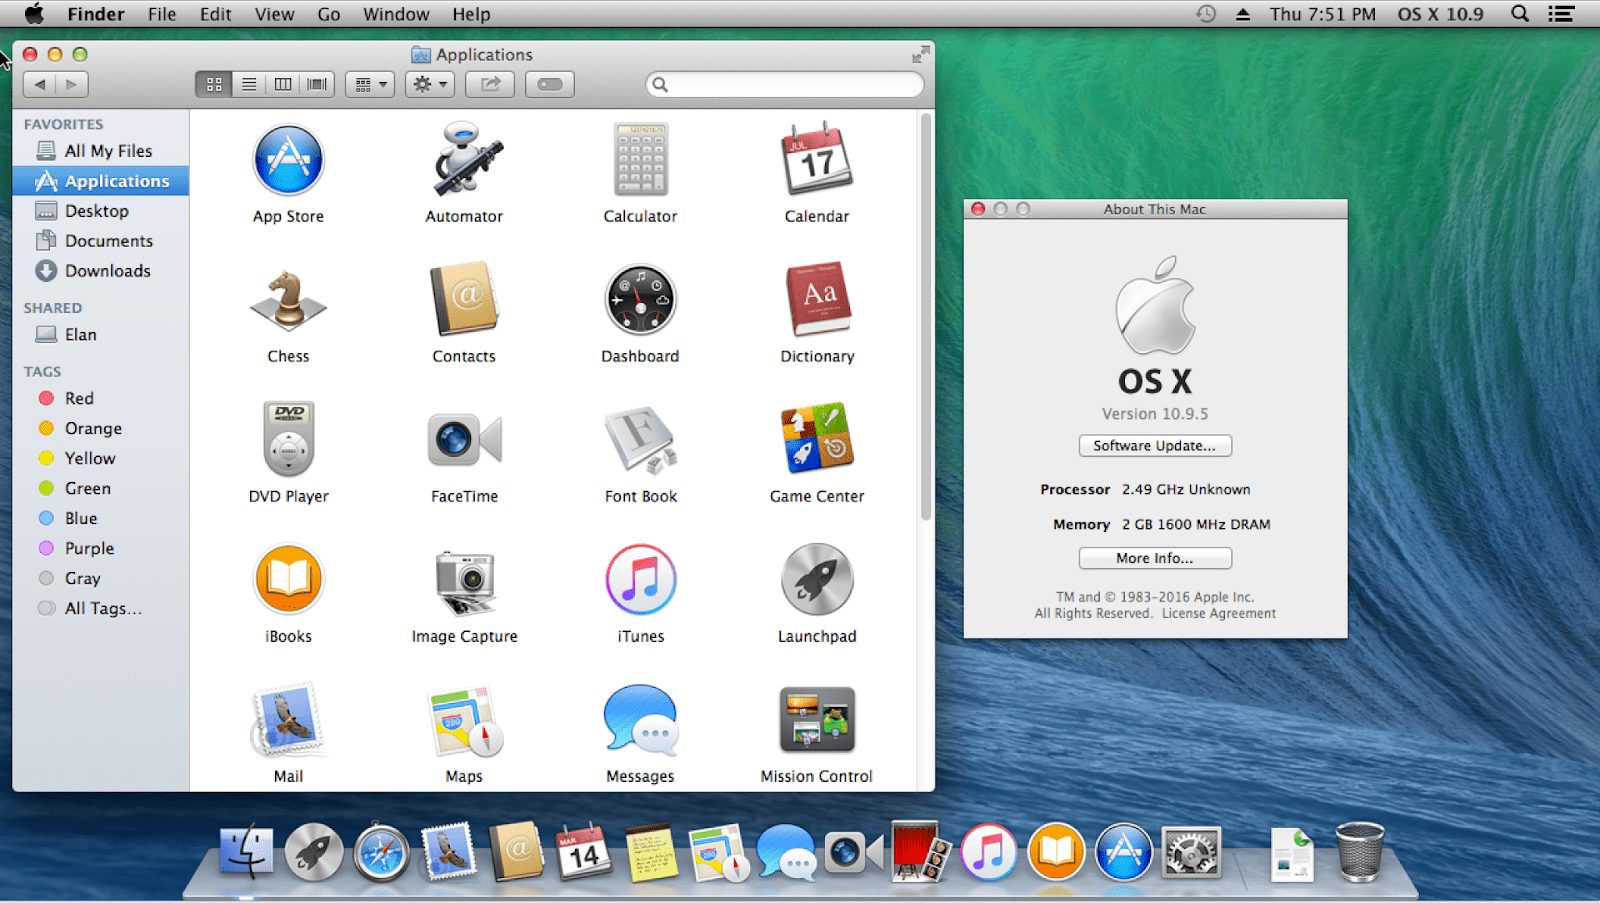
10. OS X 10.9 (Mavericks)October 22, 2013: Operating system number 10 debuts a range of privacy features, majorly focused on password encryption and storage. This is when iCloud Keychain arrives. Also, OS X 10.9 features new Maps, iBooks, and Tags for the first time, as well as upgrades Notification Center by allowing users to reply directly from notifications.
source: Apple Wiki | Fandom
11. OS X 10.10 (Yosemite)October 16, 2014: Biggest redesign in years. From small things like thin fonts and new colour schemes to the big shift towards flat graphic design, which better matches the design of iOS. What’s more, Yosemite introduces Handoff and Continuity. This once again confirms Apple’s intention to craft a better cross-device experience in the future.

source: TechRadar
12. OS X 10.11 (El Capitan)September 30, 2015: El Capitan is faster, better, and stronger than the previous operating system, due to a major performance boost. For example, it allows opening apps 40% faster than old systems. Also, this is the year when Split View’s dual-pane emerges, opening up new possibilities for managing windows on Mac.
source: Softpedia
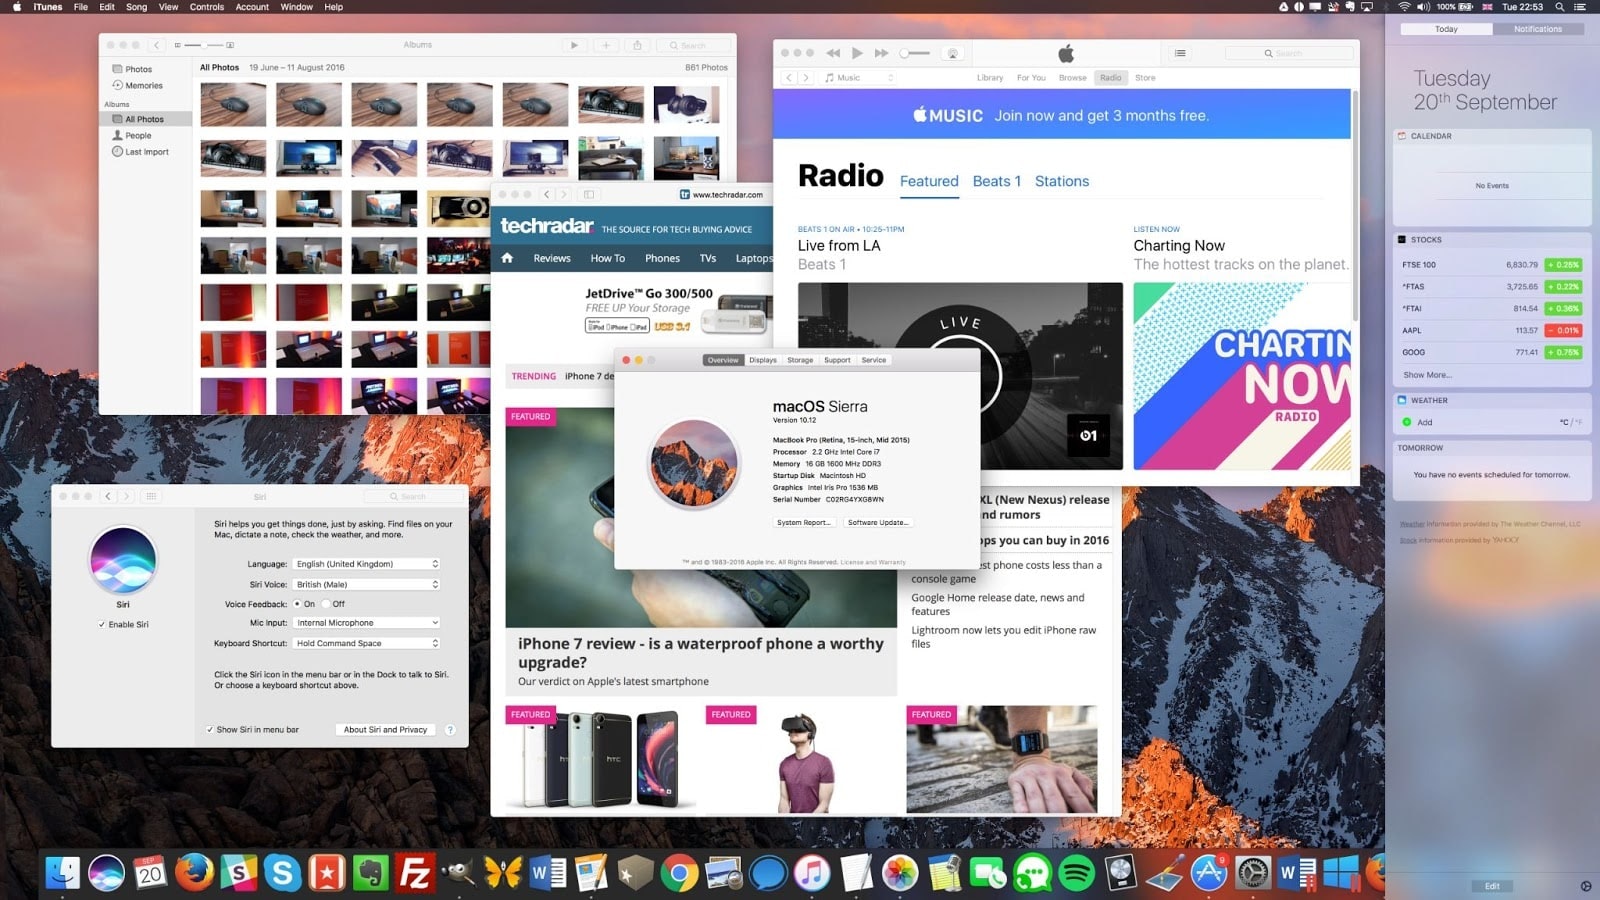
13. macOS 10.12 (Sierra)September 20, 2016: With Sierra, Apple shifts to the "macOS" naming. Again, more iOS perks arrive, such as unlocking a Mac with Apple Watch. There’s also a new Storage Optimization feature with a detailed overview of storage and suggestions on how to free up disk space. And, hey Siri!
source: TechRadar
14. macOS 10.13 (High Sierra)September 25, 2017: macOS High Sierra adds a new video standard called HEIC and a transition to Apple File System (APFS), which is an improved alternative to its predecessor file system HFS+. Apart from that, there are a few enhancements in Safari, Mail, and Photo — but nothing major.

source: Macworld
15. macOS 10.14 (Mojave)September 24, 2018: That’s when things go dark. We mean Dark Mode! Mac users can now move through their day-and-night routine, with the colours of the screen moving with them, thanks to the Dynamic Desktop feature. More and more apps arrive from iOS, including Stocks, News, and Home.
source: apple.com
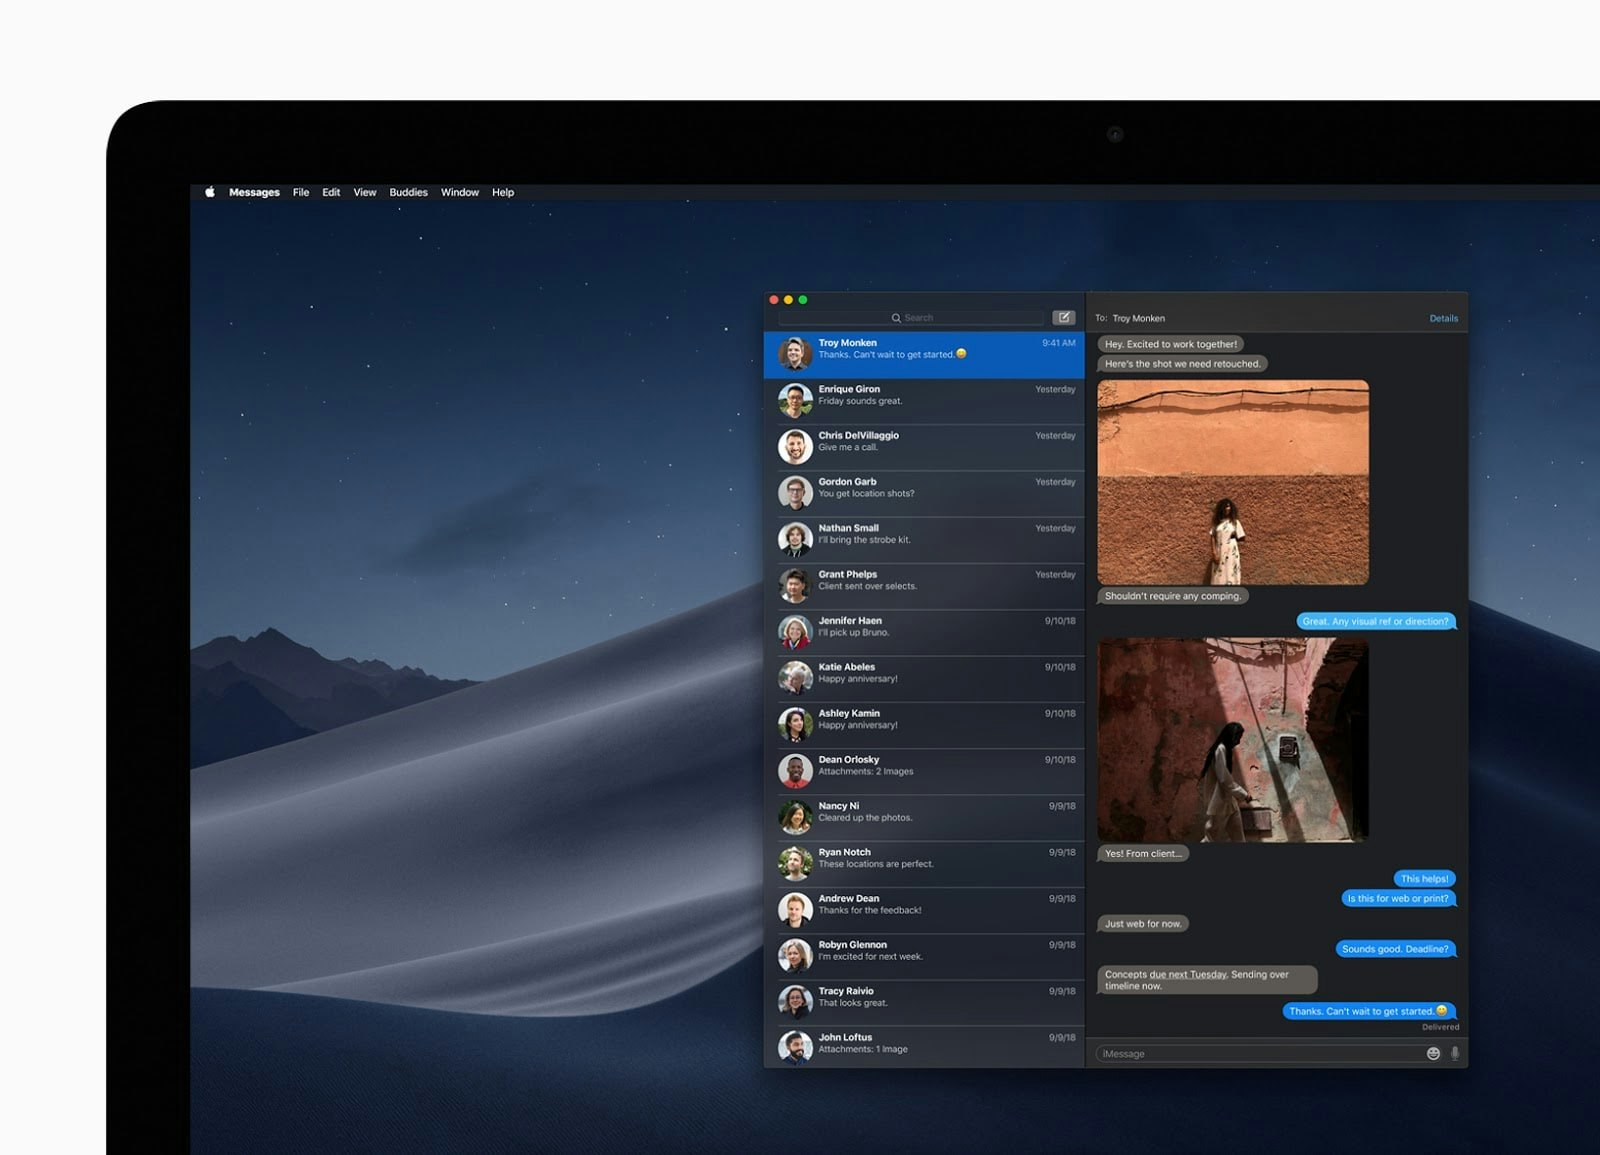
16. macOS 10.15 (Catalina)October 7, 2019: macOS Catalina marks the death of iTunes, splitting Apple’s top destination for media content into three dedicated apps — Music, Podcasts, and Movies. Apple continues aligning iOS and macOS with Sidecar, a feature that lets you connect an iPad screen to your Mac, and the ability for developers to port iOS apps to macOS.
source: Mobile Review
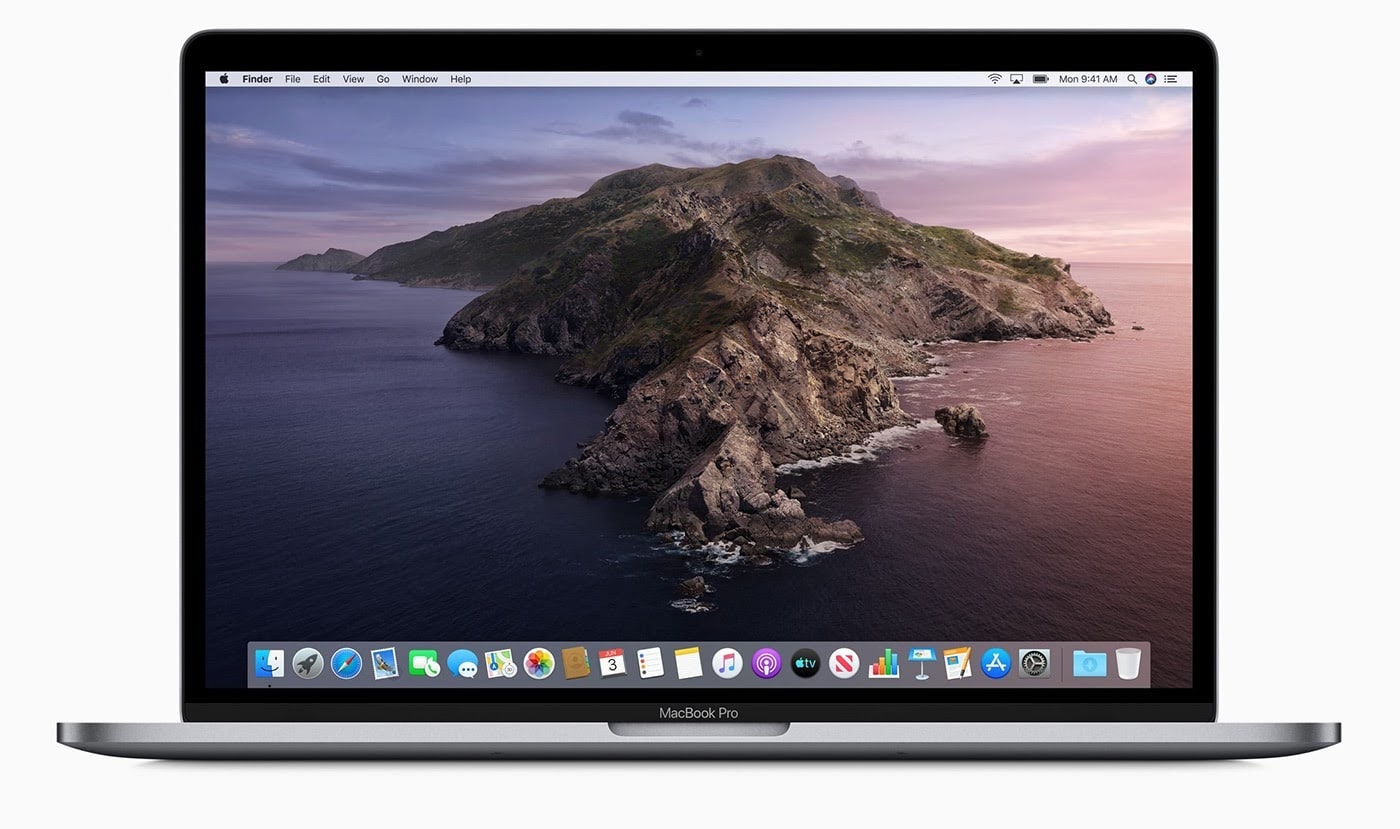
17. macOS 11 (Big Sur)November 19, 2020: There’s no macOS 10.16 because Big Sur deserves a more epic version name — 11.0. Bringing a huge design change and transition to Apple’s M1 Macs, macOS Big Sur is one to remember. This is the first operating system that allows running iOS apps natively on Mac — the so-called Universal apps.
source: apple.com
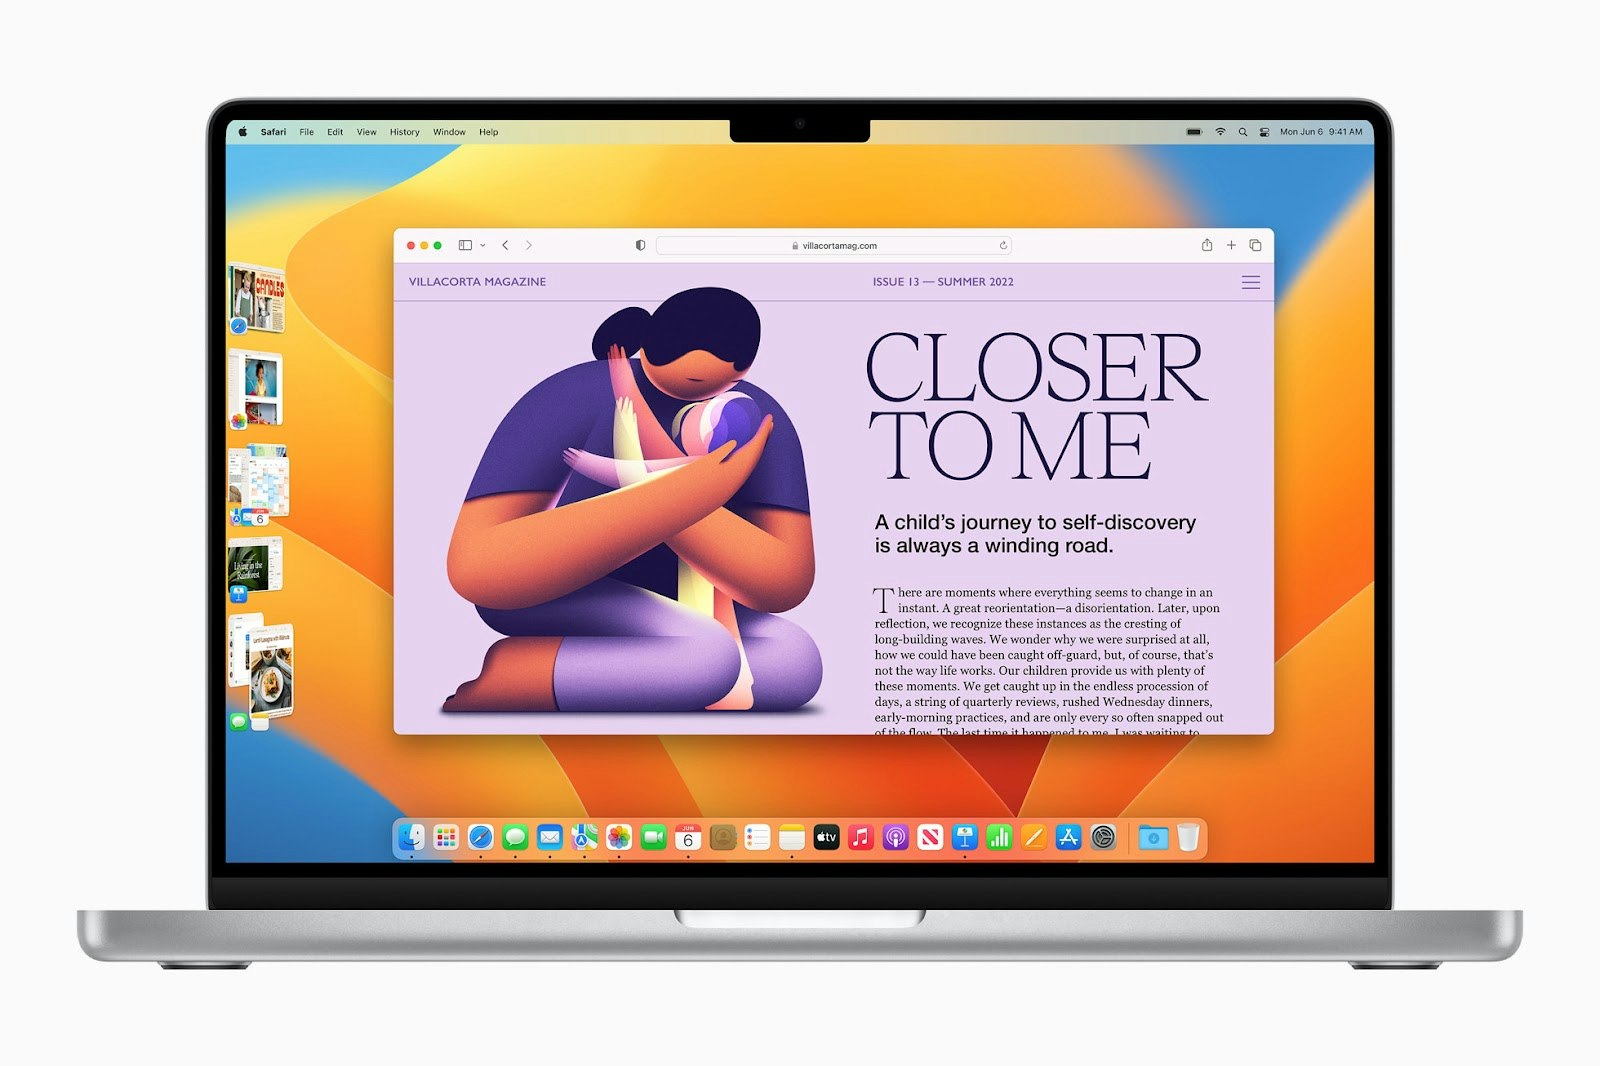
18. macOS 12 (Monterey)October 25, 2021: macOS Monterey brings Shortcuts — the ability to set up quick actions with different apps to automate your flow. Apart from that, there’s Universal Control, a natural transition across your Mac and iOS devices (for example, you can move your cursor between Mac and iPad); redesigned Safari with tab groups, and a range of cool FaceTime enhancements. More on macOS 12 Monterey.
 19. macOS 13 (Ventura)
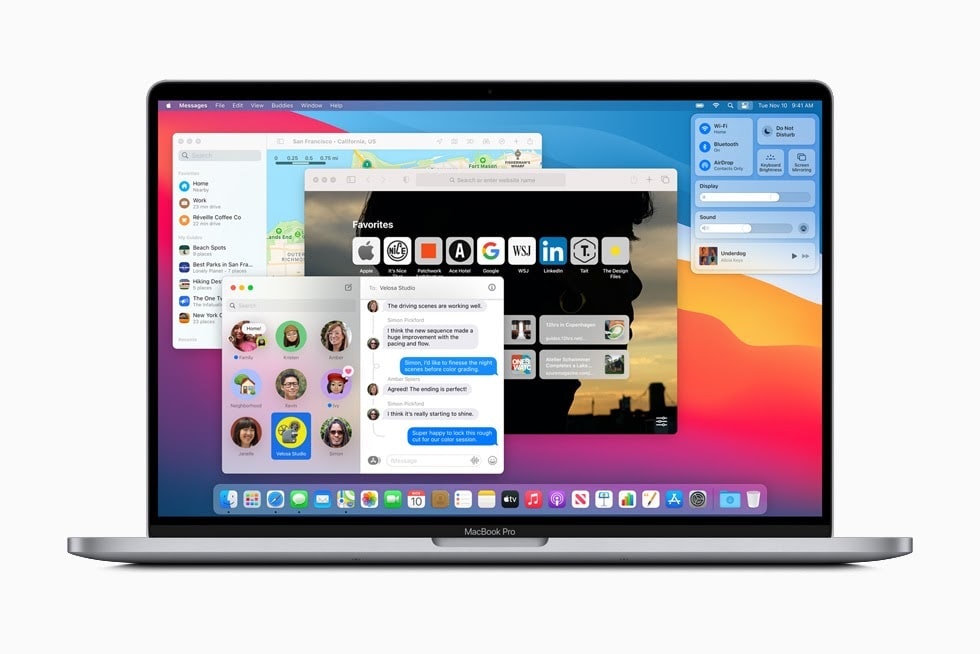
 Fall 2022: macOS Ventura arrives with a major interface change, the feature called Stage Manager. While it’s opt-in, many users will default to Stage Manager because it’s a great way to transition between tasks and workspaces. Essentially, Stage Manager automatically organizes active windows into stacks, placed on the left side of the screen. Other Ventura goodies? Continuity Camera, Undo Send in Mail, and more. If you’re just getting started with this macOS version, make sure to keep the
list of common Ventura problems at hand.
source: apple.com
What’s the latest macOS? New operating systems for Mac not only bring new features, but also bring better performance, enhanced privacy, and better workflow for those working across devices. If you’re wondering whether to upgrade to the newest macOS, we’d say yes, it’s worth it.
How to check the latest macOS on your Mac
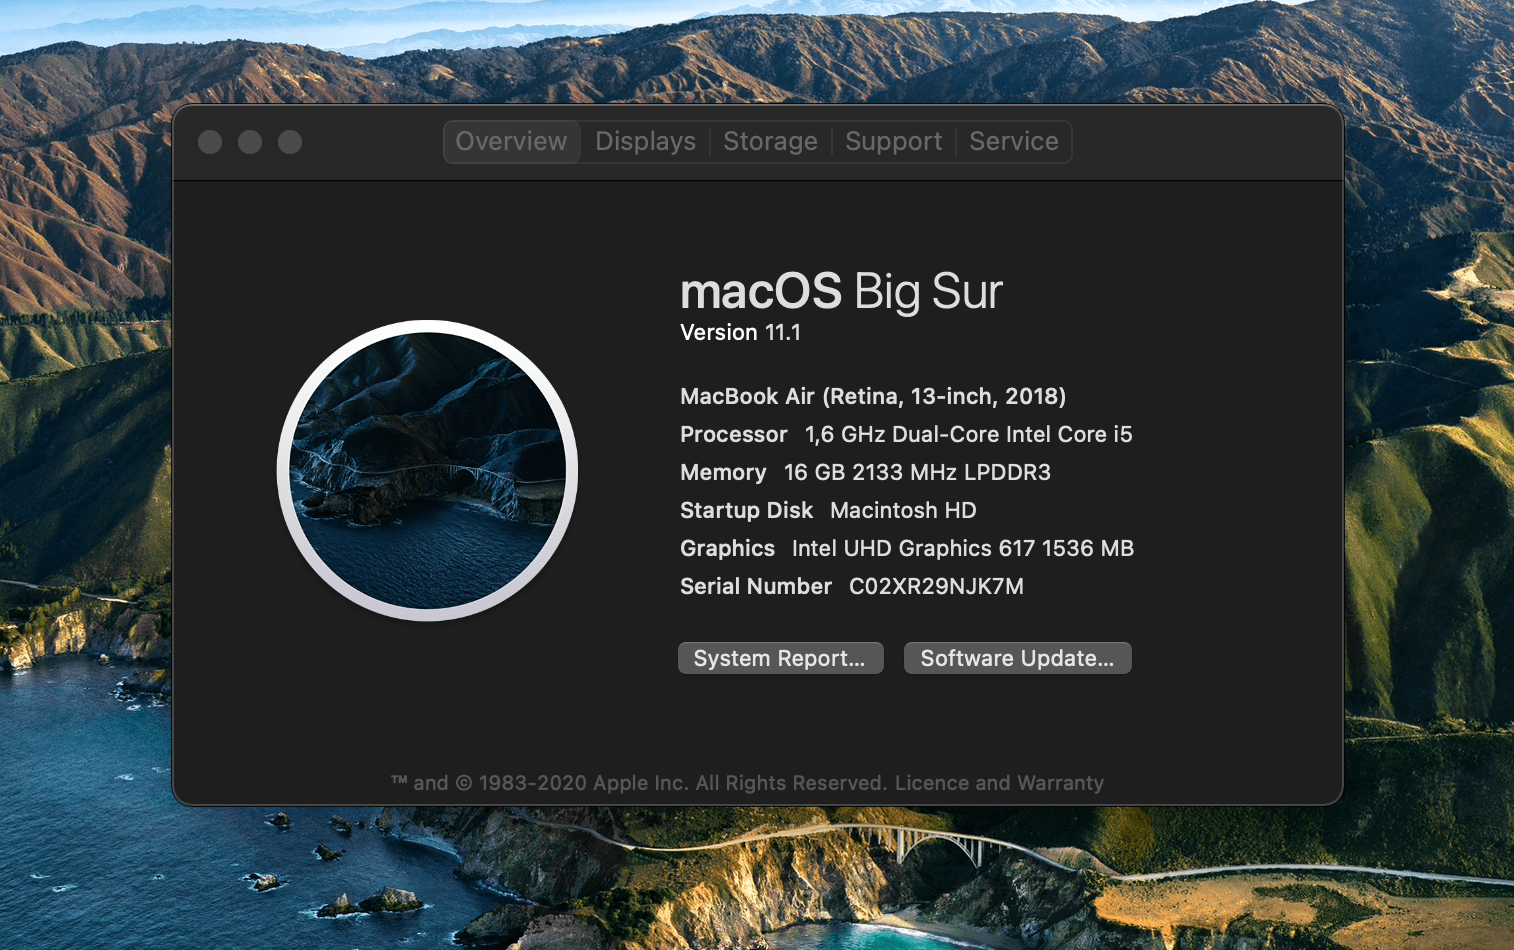
Before you upgrade, you should find out what your current macOS is. Some macOS versions can’t be "skipped." For example, if you want to upgrade to Lion, you should first install Snow Lion. Here’s how to check your operating system version on Mac (macOS 12 and earlier) Go to Apple menu > About This Mac
See the name of your current macOS in the Overview section
To check for pending macOS updates, choose Software Update.
While Apple revamped System Preferences on macOS Ventura, the flow of checking your current macOS version is slightly different. You should go directly to System Preferences — now called System Settings — and find the Software Update tab in there.
Tip: If you don’t want to upgrade but feel like "you have to" because your Mac is slowing down or acting weird, don’t rush into it. Check what’s wrong with the iStat Menus app, a real-time system monitor that can identify any pitfalls in your system. Maybe some apps are putting pressure on your Mac or you’re low on storage. In this case, a macOS update won’t help.
How to update to the latest version of macOS
For older Mac OS X releases or the newest macOS, the process of updating operating systems follows the same logic: First, you backup your data to make it available on the new macOS
Second, make sure you have enough space on your Mac to install the new macOS
Third, you download and install the new update.
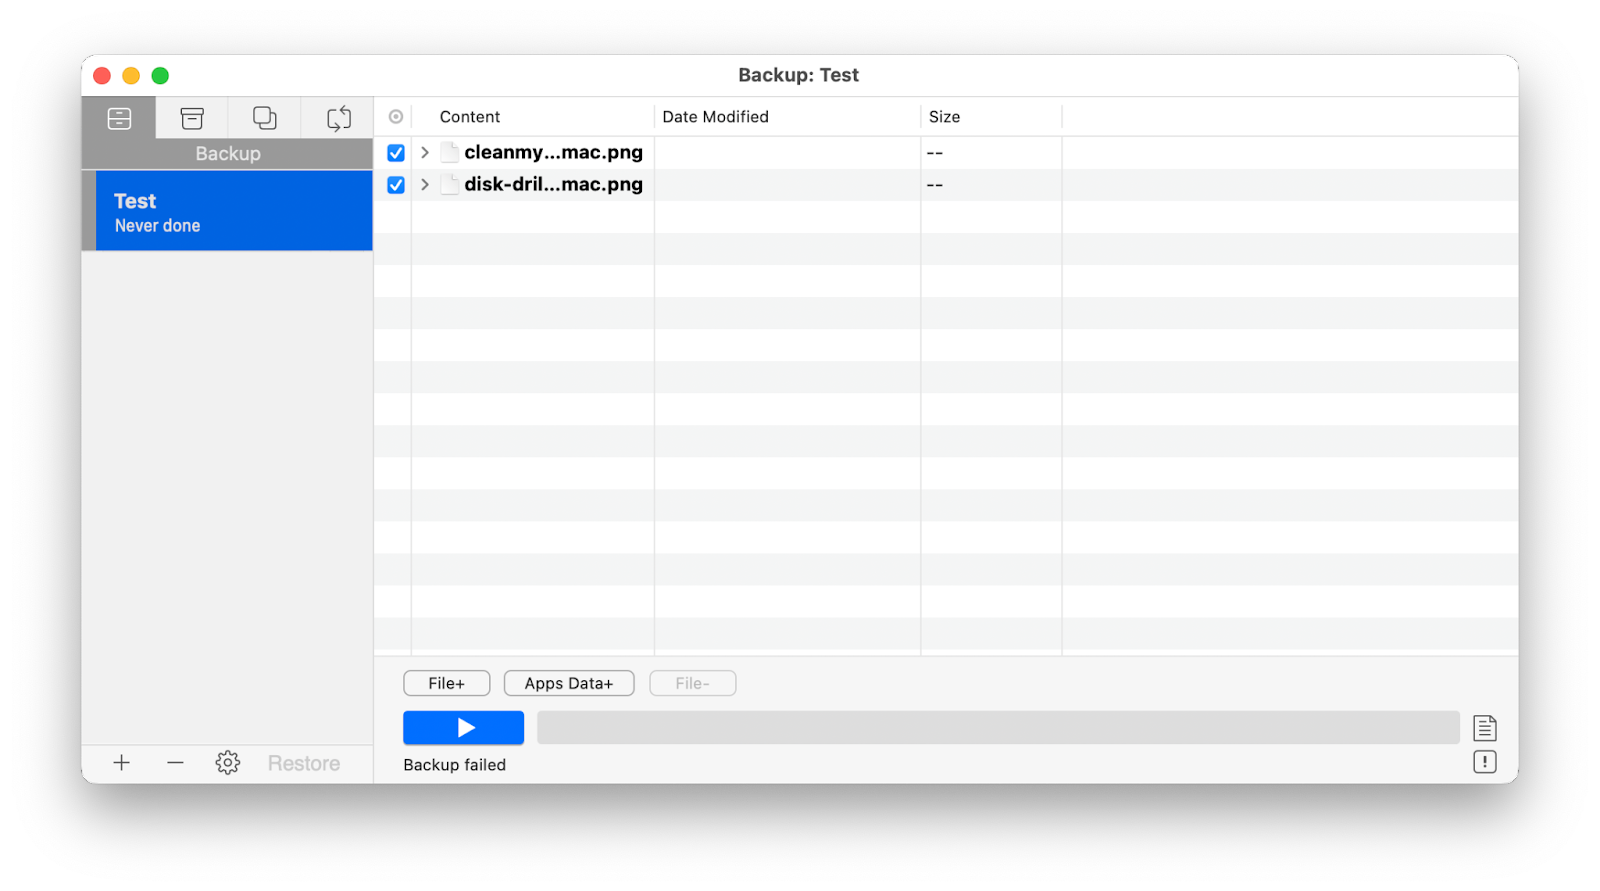
The first step is essential. Without securely backing up your disk, you might lose access to the images, docs, and whatever essential stuff is stored on your Mac. We recommend Get Backup Pro or ChronoSync Express to run a backup. The former can back up selected files and the latter does a great job backing up folders. So you don’t have to back up the whole disk, with all the clutter stored on it.
Here’s how to create a backup with Get Backup Pro: Click on the "+" button in Backups to create a new project
Choose a destination for your backup
Click File+ to add files for backup
Press Start.
Courtesy: setapp