Learn Something new TODAY..!

Welcome to "Computer Tips & Trix" web blog site. Here you'll get many tips & tricks about Computer and Mobile phone. But some of these tricks may not work on your Computer or Mobile; because of configuration, model, software or OS installed on your Computer/Mobile.

Be careful while practising TRICKS; because we will not take any responsibility for any kind of damages.


If you've any new TIPS, TRICKS, STUDY MATERIAL OR WEB-SITE, which can help KNOWLEDGE SEEKERS; please share with us.

Wednesday, March 29, 2023

Bootrec/FixBoot Error: "Element Not Found" - SOLVED


This is how I Recovered Crashed OS in the DELL T710 Server

RAID Card: PERC 6/i

a. RAID-5: 300GB SAS x 03 HDD for OS
b. RAID-5: 2TB SATA x 04 HDD for DATA
c. RAID-0: 3TB SATA for extra storage

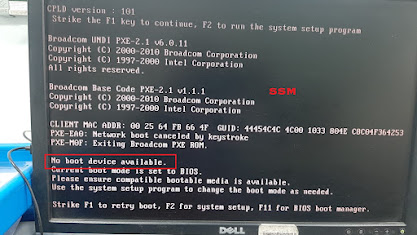
Issue: Boot Device Not Found
1. OS partition crashed (Windows Server 2012)
2. 2TB x 01 Failed in DATA 

While recovering/rebuilding the BCD I was getting the below error

"Element not found" 

Solution:

Point 1. Replaced the failed 2TB HDD and rebuild the RAID-SOLVED.
Point 2. followed the below steps and recovered OS.

Element not found error usually occurs when you try to run Bootrec /fixboot in CMD to fix other system boot issues in Windows 7/8/10/11 and Windows Server 2012, etc. The boot issue might be caused by disk cloning, system migration, Windows updating, MBR & GPT conversion and so on. That’s really bad when one problem remains and another appears. You may be urgent to learn how to fix the issue. However, knowing the causes for that error is also important because causes mean the clues.

Possible causes for Bootrec Element not found

In general, the Bootrec /fixboot command will solve the boot issue when you find the system is unbootable. Nevertheless, it may not work in the following situations.

◥ The system partition or boot drive is not marked as Active.
◥ You get Element not found on GPT disk. If to convert MBR to GPT, an EFI partition will be created to store boot files. If the EFI partition does not have a drive letter, you will not be able to boot.
◥ The Boot Configuration Data (BCD) files are damaged.
◥ The Master Boot Record (MBR) of the disk is corrupted.

After acquiring the reasons for the Element not found error, you can take responding measurements then.

How to fix Windows Bootrec fixboot Element not found error accordingly

Four solutions will be introduced in the following parts. Make sure you are able to access the Command Prompt interface via the Windows installation disc or Windows repair disc.

Tip: the second and the third solutions fix Bootrec fixboot element not found on the GPT disk only.


▶ Make partition as Active


Step 1. 
Boot your PC from any of the bootable discs. Choose the Repair option and open Command Prompt. Type DISKPART in the prompt, and then input these commands successively:

● LIST DISK
● SELECT DISK N (where N is the disk that has boot issue)
● LIST PARTITION
● SELECT PARTITION M (where M is the partition number of the boot drive)
● ACTIVE
● EXIT


Step 2
Back to the Repair option and choose Startup Repair this time. You may need to run it several times.

Step 3. In the Command Prompt, type these commands to have a try.

● BOOTREC /FIXMBR
● BOOTREC /FIXBOOT
● BOOTREC /SCANOS
● BOOTREC /REBUILDBCD


Step 4
Restart your computer. The method works in Windows 8 especially.

Assign a drive letter to the EFI partition

If the EFI partition that contains the BOOTMGR and BCD files (Windows boot files) does not have a recognized drive letter, you can try this way.

1. Open Command Prompt and type DISKPART as instructed.

2. Input these commands in sequence:

● LIST VOLUME
● SELECT VOLUME N (where N is the drive letter of EFI partition which is formatted with FAT32 file system and around 100MB in size)
● ASSIGN LETTER=B
● EXIT


3. Restart your computer to fix Bootrec fixboot Element not found error.

Recreate BCD store

1. Open Command Prompt and type cd /d b:\EFI\Microsoft\Boot and press Enter.

2. Type bootrec /fixboot and press Enter.

3. Type ren BCD BCD.bak and press Enter to delete or rename the BCD file.

4. Type bcdboot c:\Windows /l en-gb /s b: /f ALL (replace b: with the correct boot letter in your case) and press Enter to recreate the BCD store by bcdboot.exe.

5. Restart your computer.

Descriptions: the “/f ALL” updates the BIOS settings including UEFI firmware/NVRAM; the “/l en-gb” localizes for UK/GB locale.


Verdict:

Generally, the Bootrec /fixboot Element not found error is caused by a damaged BCD store, not-recognized EFI partition on the GPT disk, not-activated boot drive or corrupted MBR.

SOURCE / CREDIT: darvish, diskpar.com

Monday, March 27, 2023

All macOS versions from 2001 to 2023


In this article, we guide you through the evolution of Apple’s operating system, from the first public release in 2001 to the latest macOS Monterey announced at WWDC 2021 on June 7.
 
Is there any difference between Mac OS X and macOS?

No, they are essentially the same thing — just named differently. In fact, three terms were used at different times with reference to Apple’s operating system: Mac OS X, OS X, and macOS. Mac OS X was the official naming through version 10.7, from 2001 to 2011. In the next four years, the OS X names were used. Finally, Apple shifted to "macOS" with the release of macOS High Sierra in 2016. The latter helped standardize the naming of Apple’s operating systems — macOS, iOS, tvOS, iPadOS, etc.
 
List of macOS versions

Brief backstory. In 1996, Apple purchased NeXT, the company Steve Jobs built after he had left Apple. The same year, Jobs returned to Apple and helped build the first Mac OS that could compete with Windows. That’s when it became obvious Apple could grow to become a big player.

The first ancestor of the macOS family was Mac OS X Public Beta released in 2000, followed by a public release of Mac OS X 10.0 in 2001. Let’s recount the stories of all Mac OS X versions, up to the current macOS.

1. Mac OS X 10.0 (Cheetah)

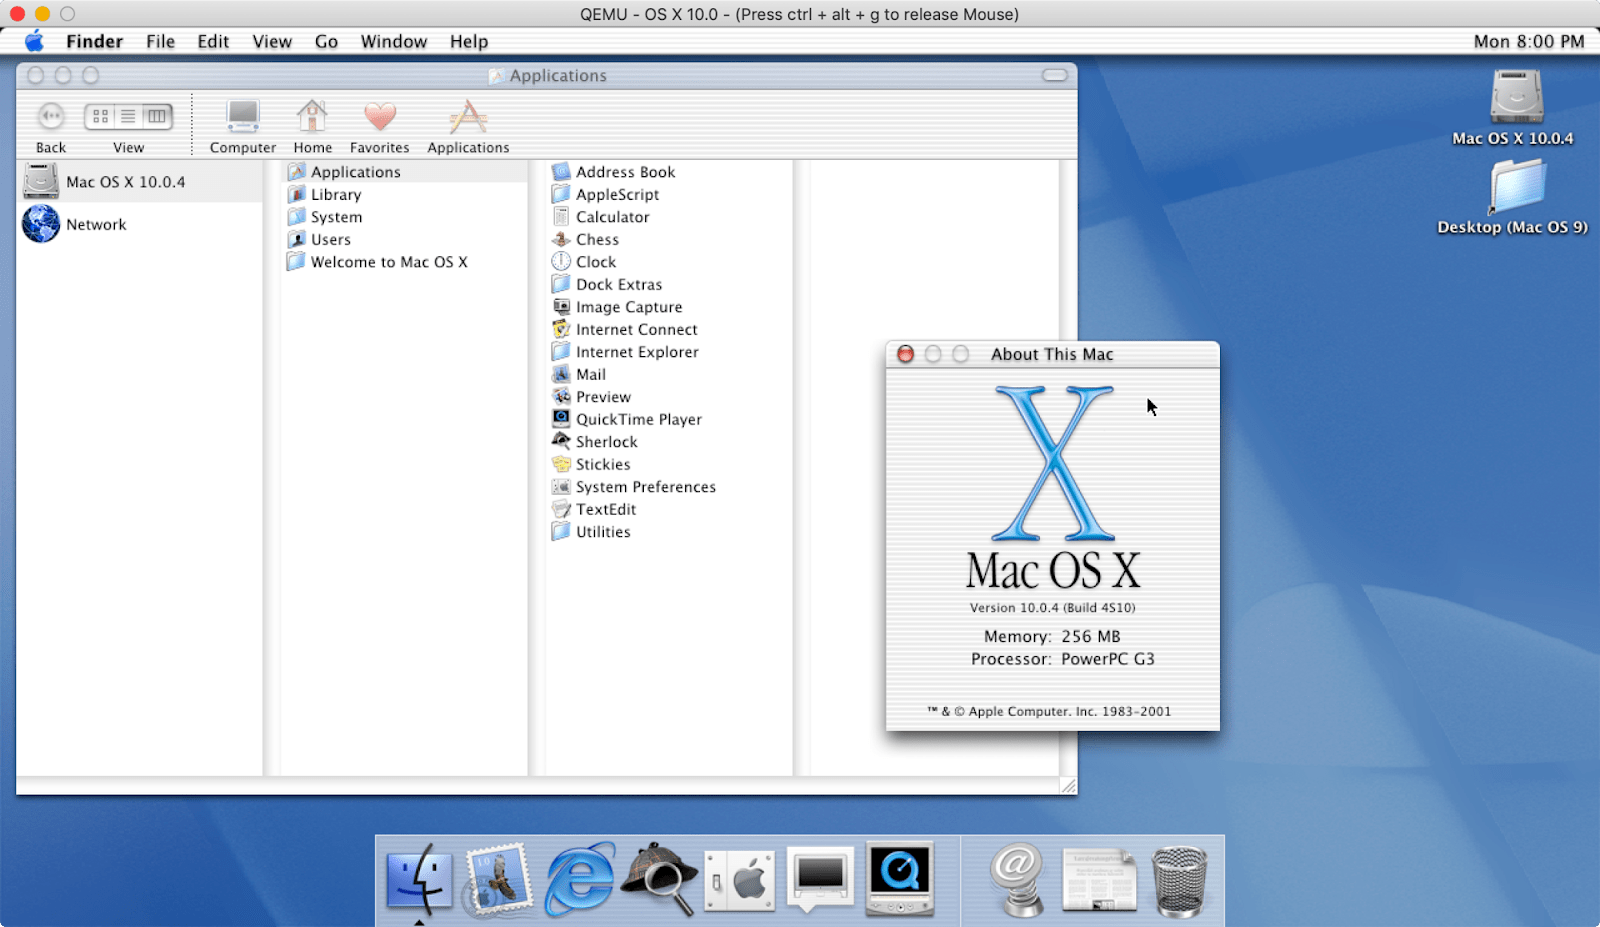
March 24, 2001: Aqua interface is born with Mac OS X Cheetah. It’s a big step in the evolution of graphical interfaces, with 2D and 3D graphics support, granting an all-new visual experience. Cheetah featured a water theme, which, according to Steve Jobs, "one wanted to lick when they saw it." Beauty comes at a cost, though. Graphics improvements made Cheetah very slow, which prompted Apple to shift focus from visual experience to perform in the next release.


source: Apple Wiki | Fandom
 
2. Mac OS X 10.1 (Puma)

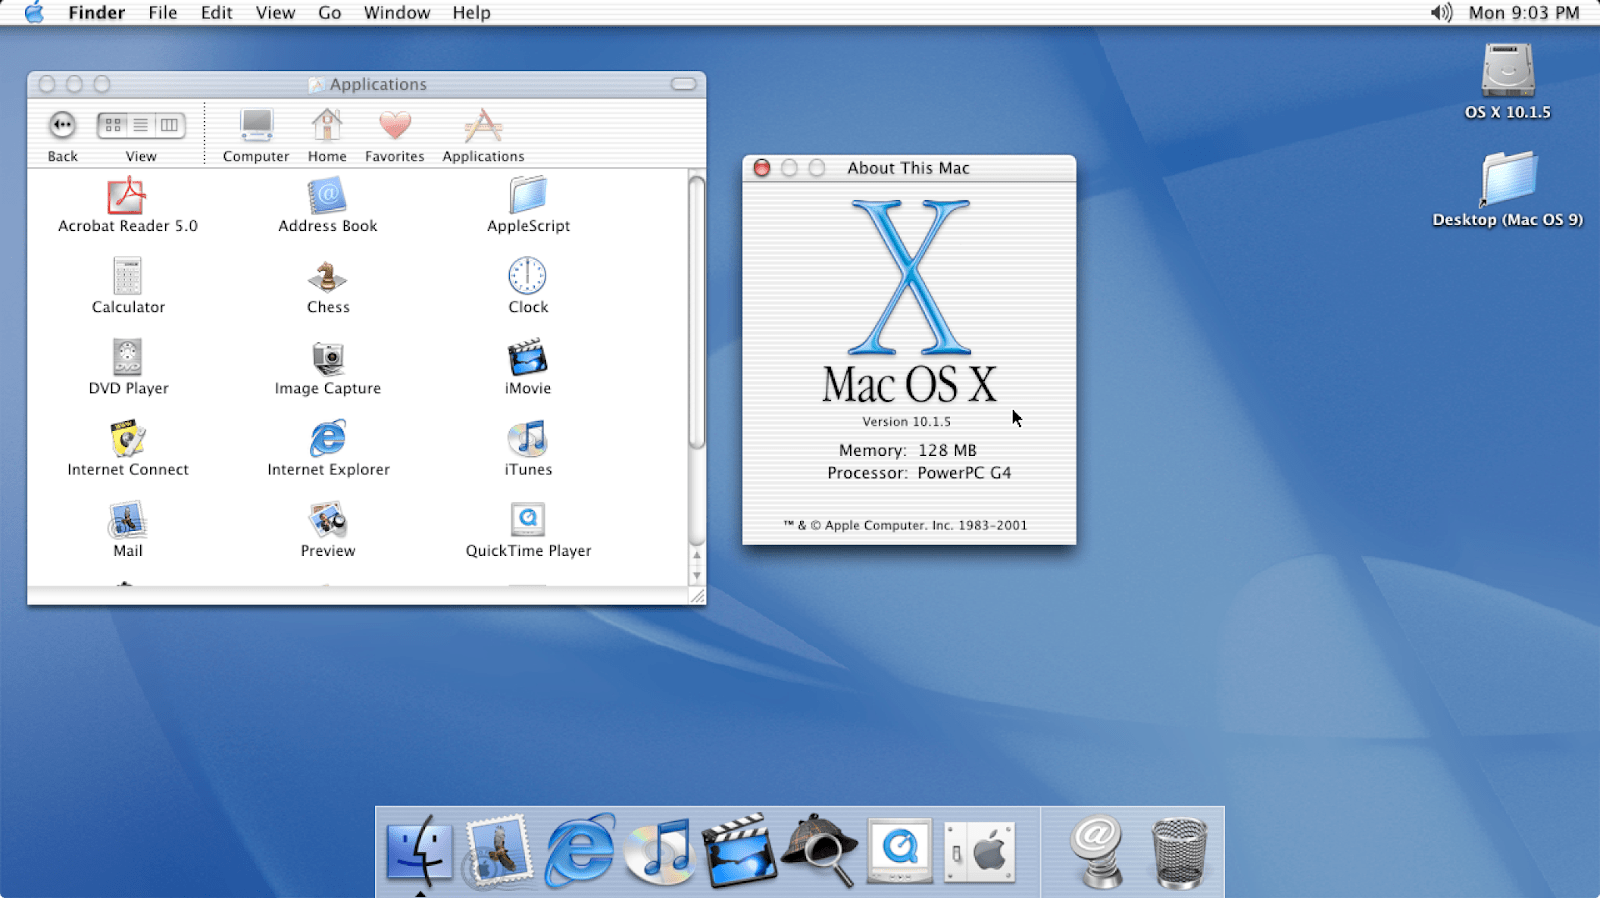
September 25, 2001: As you might have noticed, the first generation of Apple’s operating systems was named after animals. Puma arrived with a solid performance boost and a few other functional improvements such as simplified CD and DVD burning, new features in Finder, and more extensive printer support.


source: Apple Wiki | Fandom
 
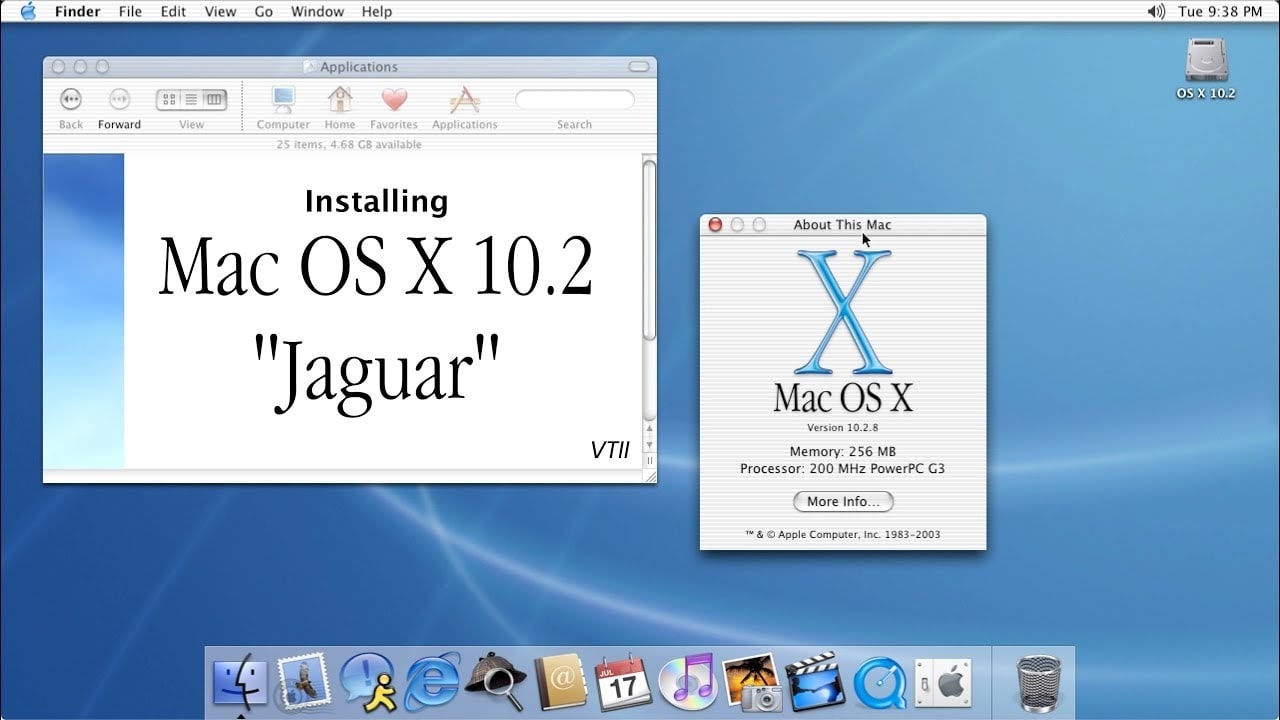
3. Mac OS X 10.2 (Jaguar)

August 23, 2002: The third release of Mac OS X added search to Finder (can you imagine it, Finder used to exist without it!) Jaguar also brings MPEG-4 support for QuickTime, a range of privacy features, and, for the first time, Accessibility API called Universal Access. Some of the apps born with this release continue living on Mac even today (for example, Address Book, which is now called Contacts).


source: VTII Technology
 
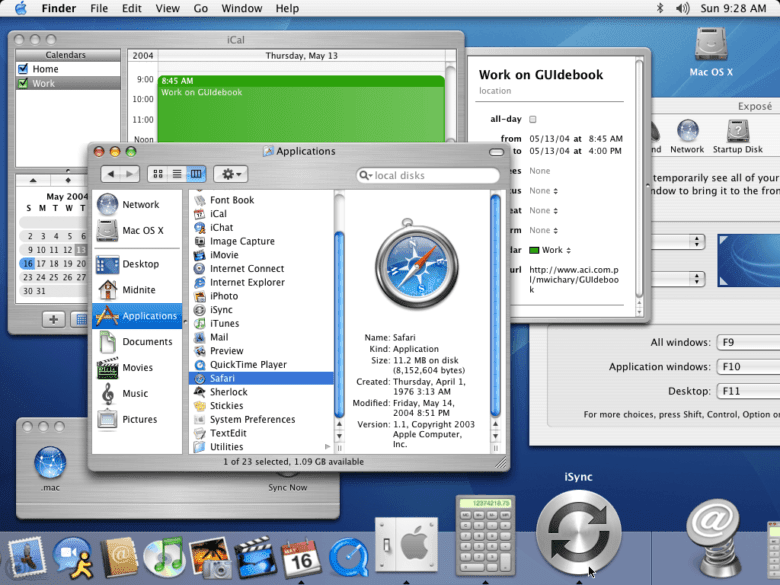
4. Mac OS X 10.3 (Panther)

October 24, 2003: Meet Safari! The first official web browser made by Apple replaces Internet Explorer on Mac. In fact, Safari was available on Jaguar but it’s the first release where it becomes a default browser. Other than that, Panther adds 150+ new features, including Font Book, Xcode enhancements, and more.


source: Cult of Mac

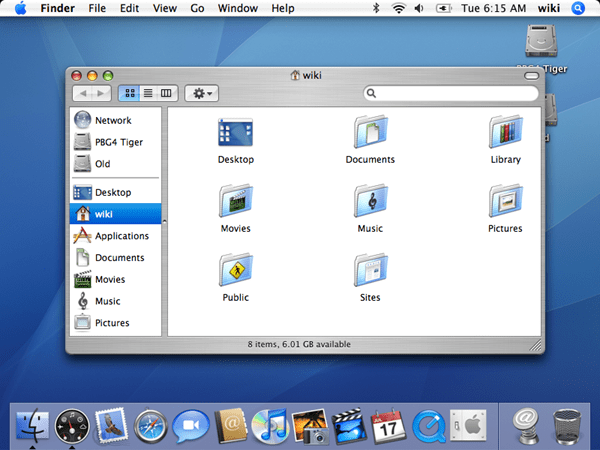
5. Mac OS X 10.4 (Tiger)

April 29, 2005: Did you think Apple TV is pretty new? Well, guess what, it was born in 2005, with the release of Apple’s fifth operating system! Tiger was a pretty big update. It featured Spotlight search, Automator, VoiceOver, and around 200 other improvements. During this time, Apple also switched to Intel’s processors, which made Tiger the first system operating on Macs with Intel chips.


source: Wikipedia

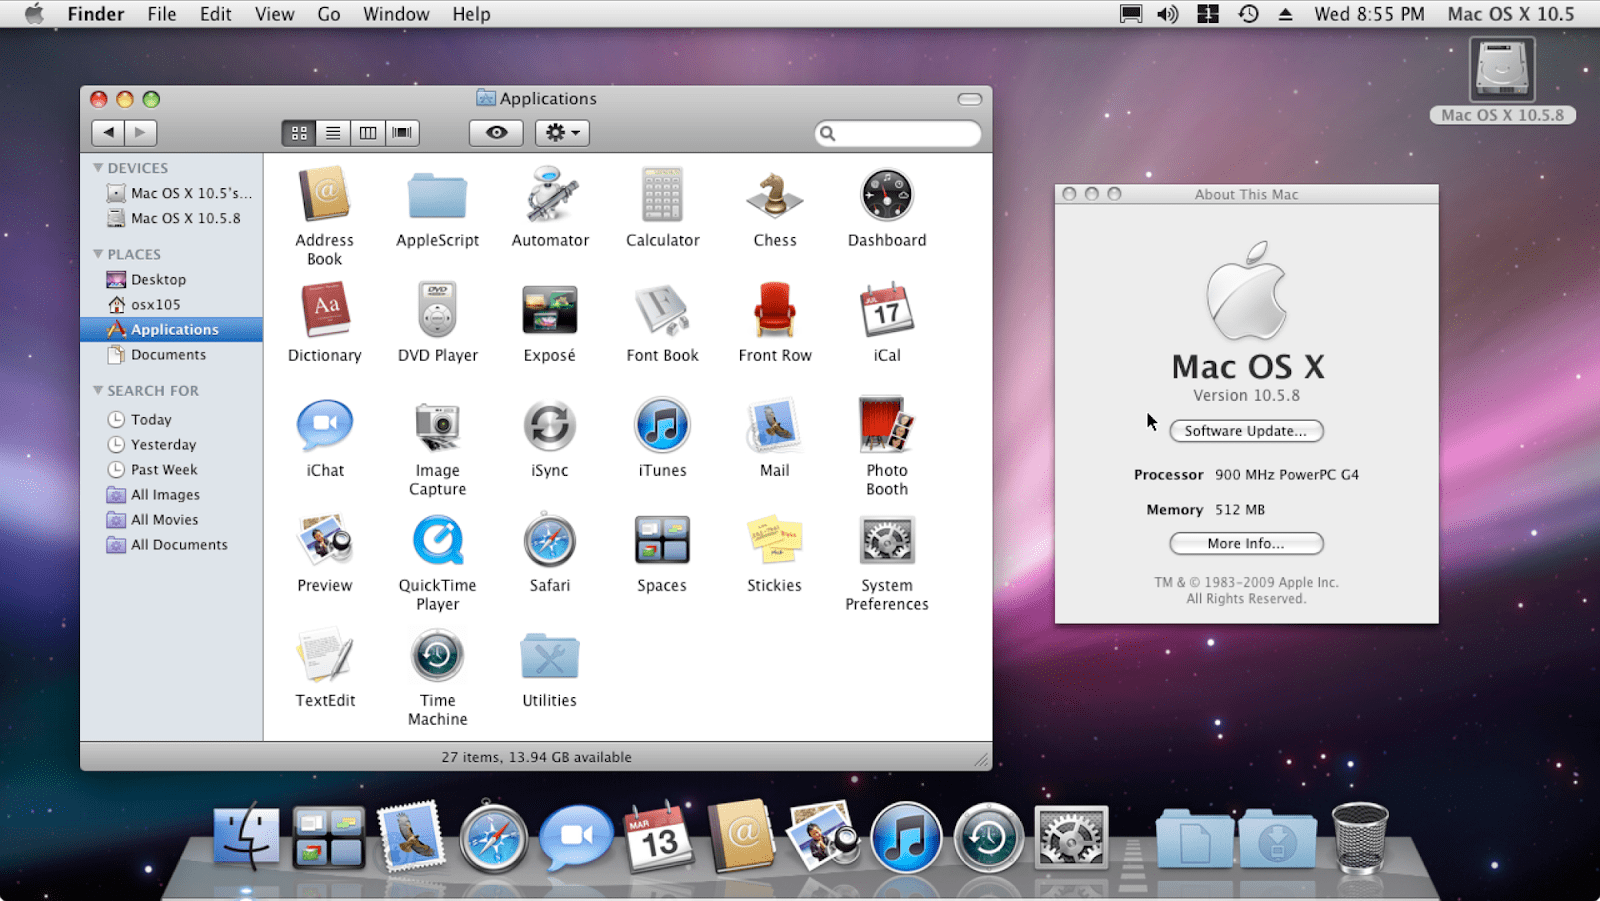
6. Mac OS X 10.5 (Leopard)

October 26, 2007: Here comes Leopard, one of the most Mac-changing systems. This time, Mac’s desktop changes significantly, with Dock, a new menu bar, and Stacks. Time Machine, Spotlight enhancements, and support for 64-bit apps arrive too. In fact, Leopard featured so much new stuff that Apple even had to delay the initial release date to finish it all in time.


source: Apple Wiki | Fandom
 
7. Mac OS X 10.6 (Snow Leopard)

August 28, 2009: Leopard’s successor, Snow Leopard, focused on expanding 64-bit architecture. Most of the native applications were rewritten in 64-bit. Back then, experts used to say that was the first step to a full transition, which, as we know it today, became true. Also, the App Store was born in the Snow Leopard era.
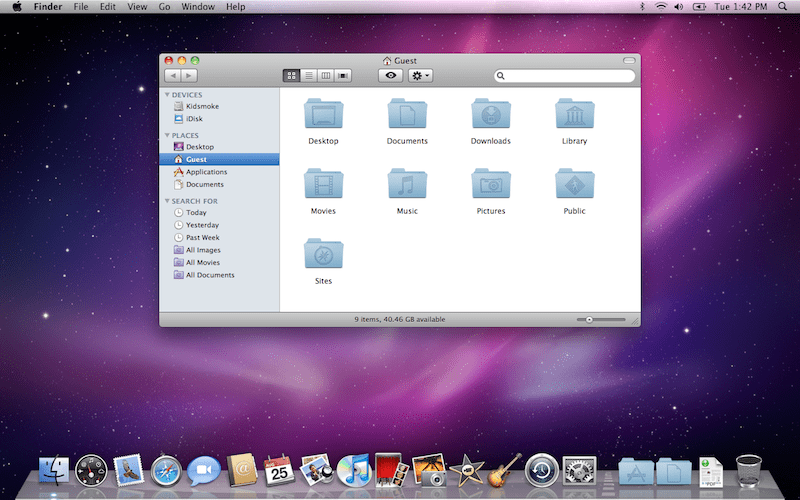


source: Wikipedia

8. Mac OS X 10.7 (Lion)

July 20, 2011: With Lion, Apple brings lots of useful enhancements from iOS to Mac OS. Launchpad, multi-touch gestures, and more. Interestingly, many people criticized Mac OS X 10.7 for the so-called "natural scrolling," which moved the content up when you scroll down. Back then, it seemed more natural to have the content move down — as Windows did it.
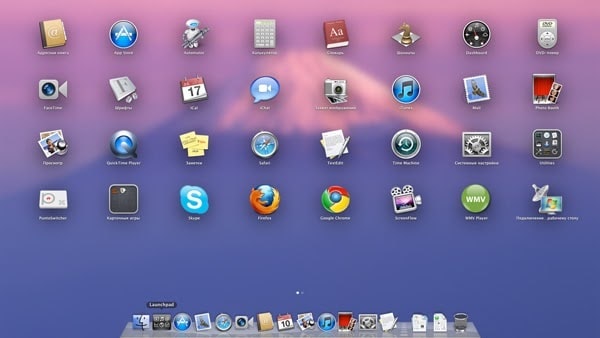


source: iXBT

9. OS X 10.8 (Mountain Lion)

July 25, 2012: Major apps like Notes, Reminders, and Messages arrive from iOS, turning Mac into a more comfortable spot for managing your daily routine. The most significant update in Mountain Lion is Notification Center, with on-screen banners communicating updates.
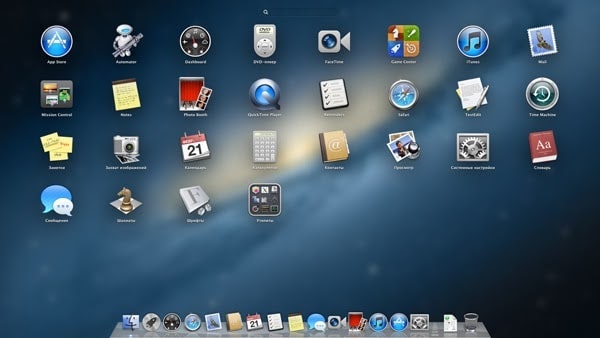


source: iXBT

10. OS X 10.9 (Mavericks)

October 22, 2013: Operating system number 10 debuts a range of privacy features, majorly focused on password encryption and storage. This is when iCloud Keychain arrives. Also, OS X 10.9 features new Maps, iBooks, and Tags for the first time, as well as upgrades Notification Center by allowing users to reply directly from notifications.
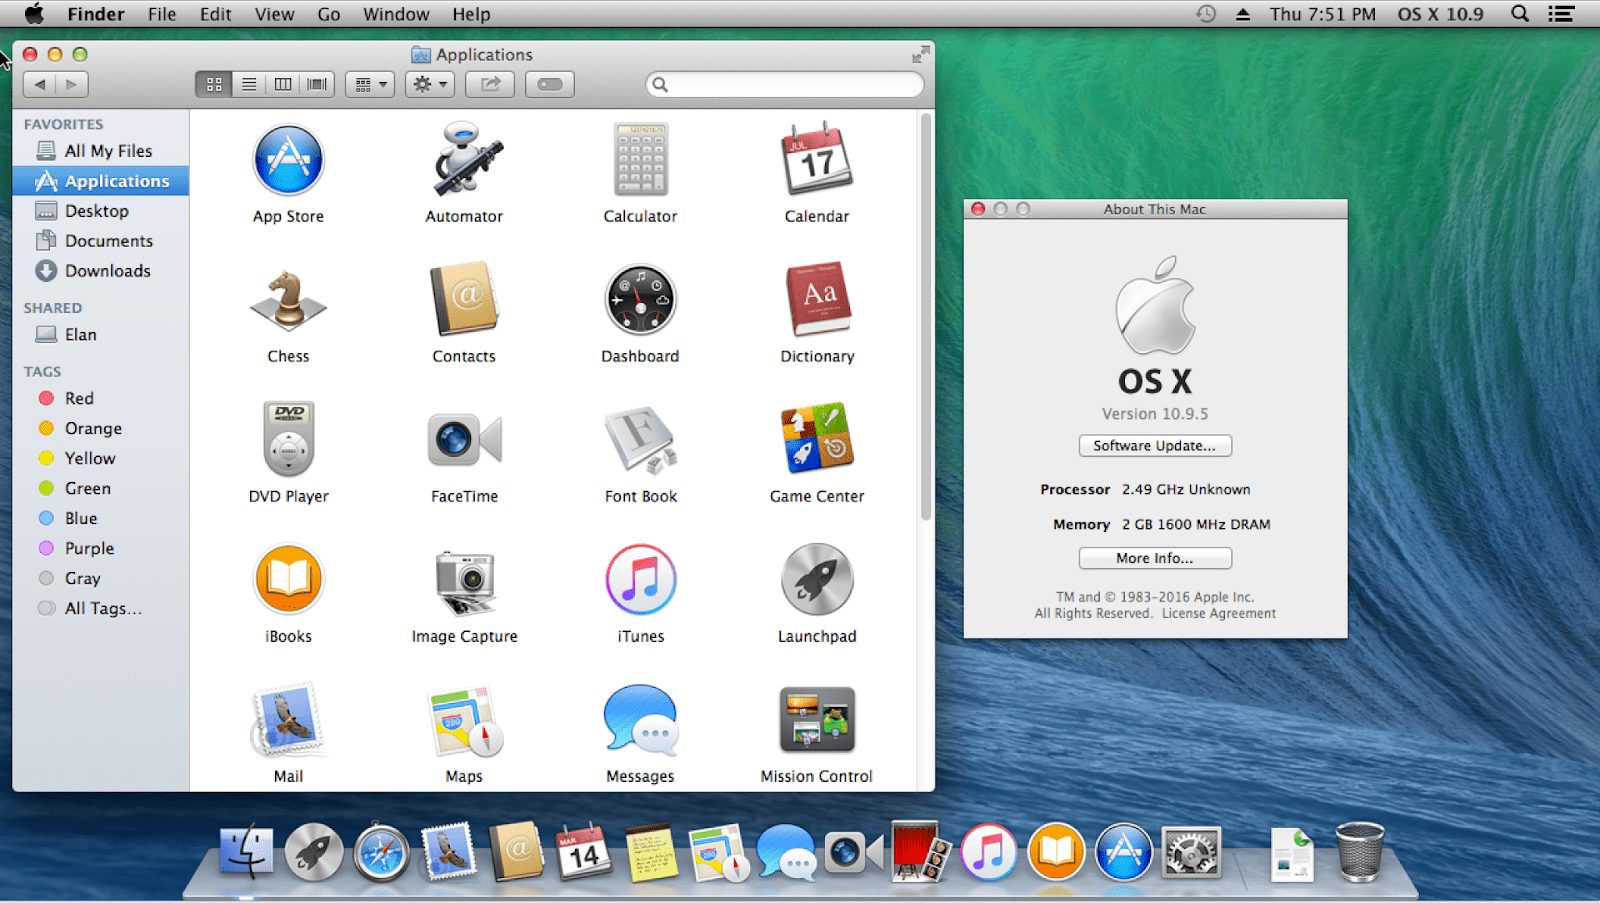


source: Apple Wiki | Fandom
 
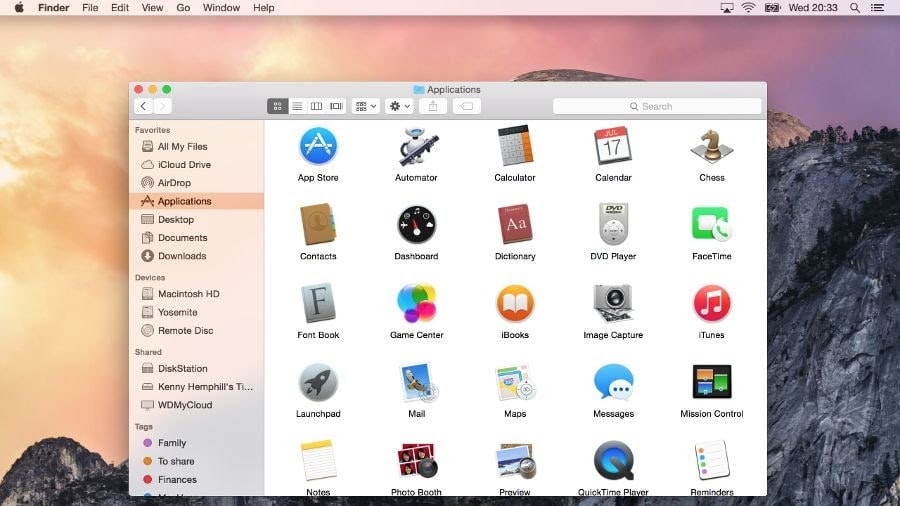
11. OS X 10.10 (Yosemite)

October 16, 2014: Biggest redesign in years. From small things like thin fonts and new colour schemes to the big shift towards flat graphic design, which better matches the design of iOS. What’s more, Yosemite introduces Handoff and Continuity. This once again confirms Apple’s intention to craft a better cross-device experience in the future.


source: TechRadar

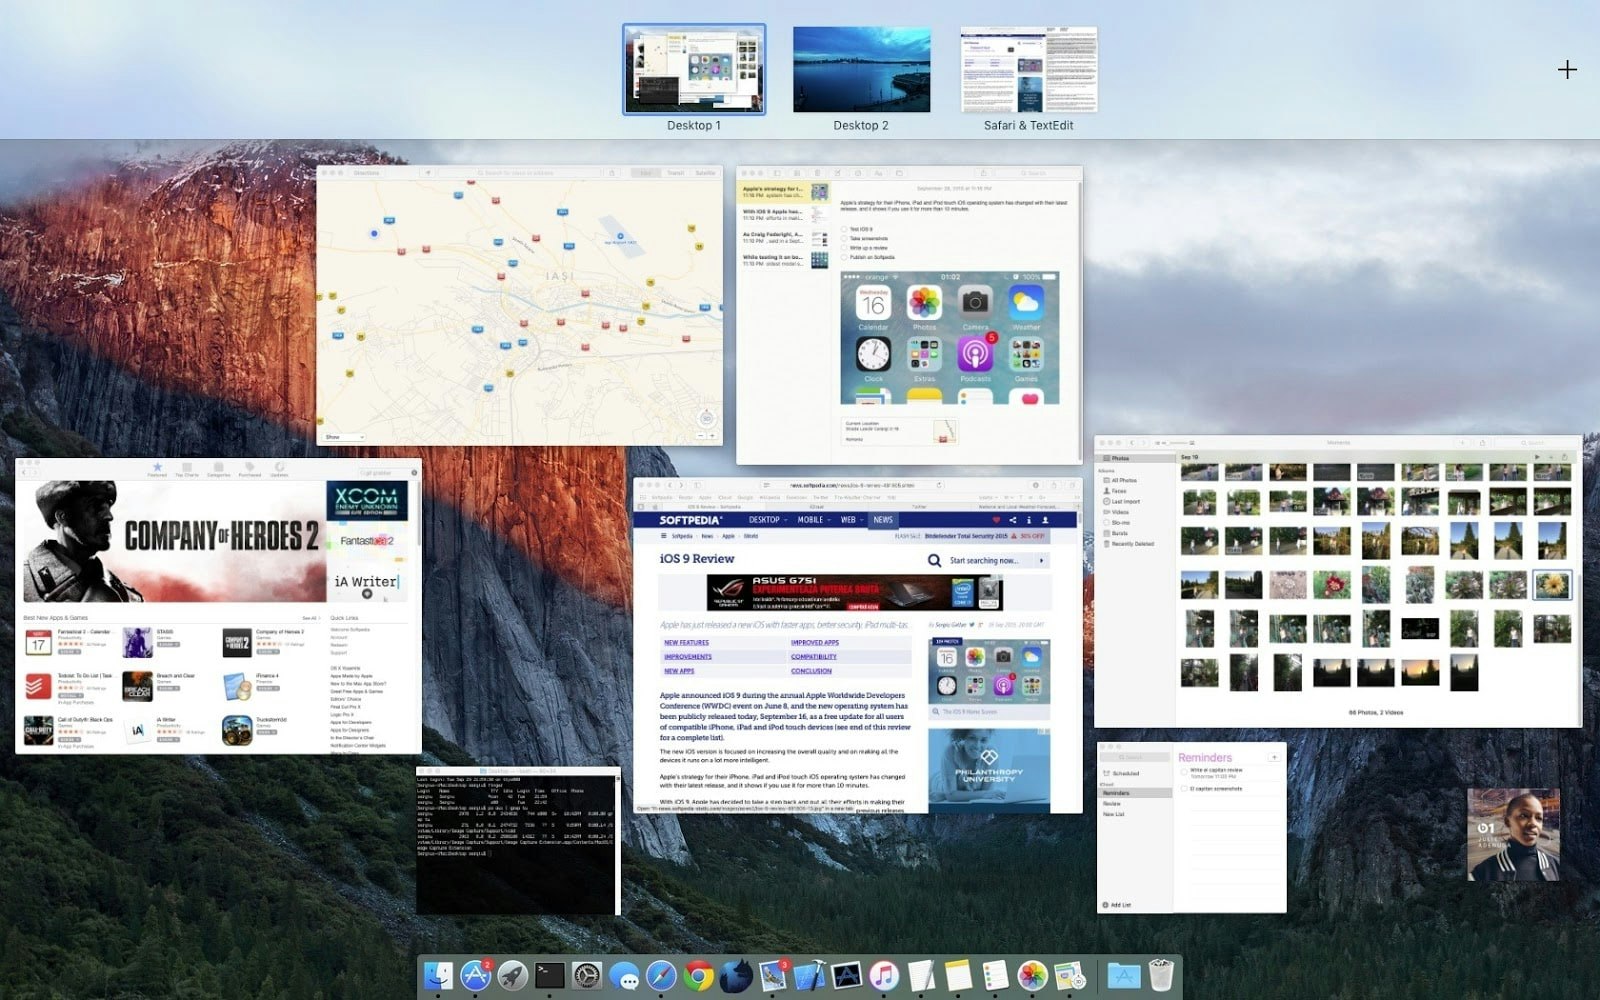
12. OS X 10.11 (El Capitan)

September 30, 2015: El Capitan is faster, better, and stronger than the previous operating system, due to a major performance boost. For example, it allows opening apps 40% faster than old systems. Also, this is the year when Split View’s dual-pane emerges, opening up new possibilities for managing windows on Mac.


source: Softpedia
 
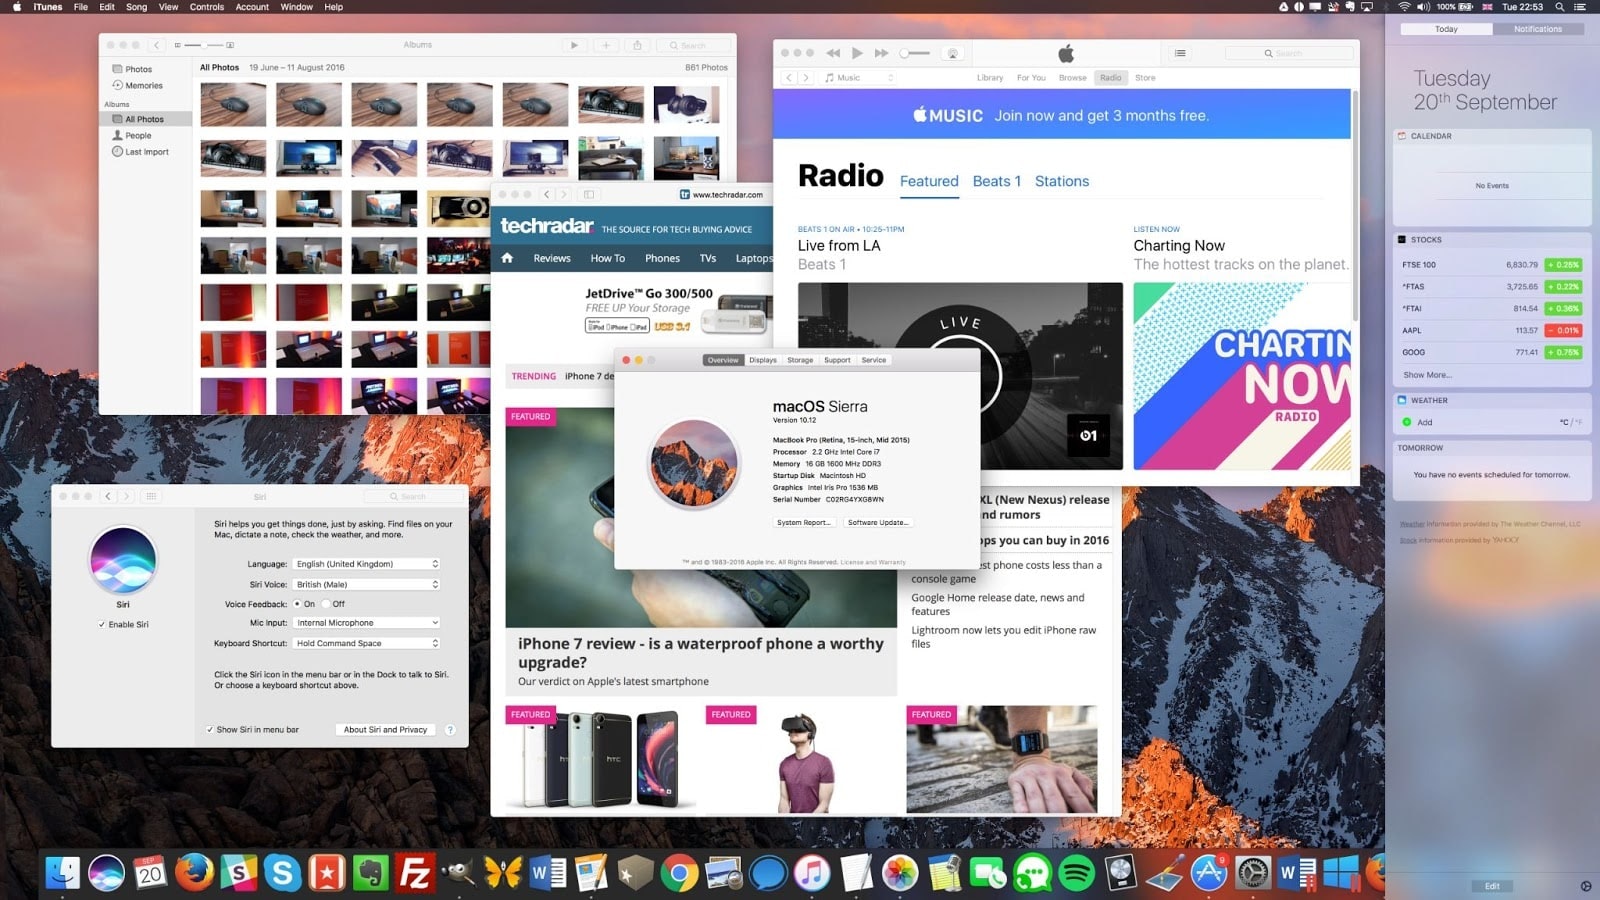
13. macOS 10.12 (Sierra)

September 20, 2016: With Sierra, Apple shifts to the "macOS" naming. Again, more iOS perks arrive, such as unlocking a Mac with Apple Watch. There’s also a new Storage Optimization feature with a detailed overview of storage and suggestions on how to free up disk space. And, hey Siri!


source: TechRadar

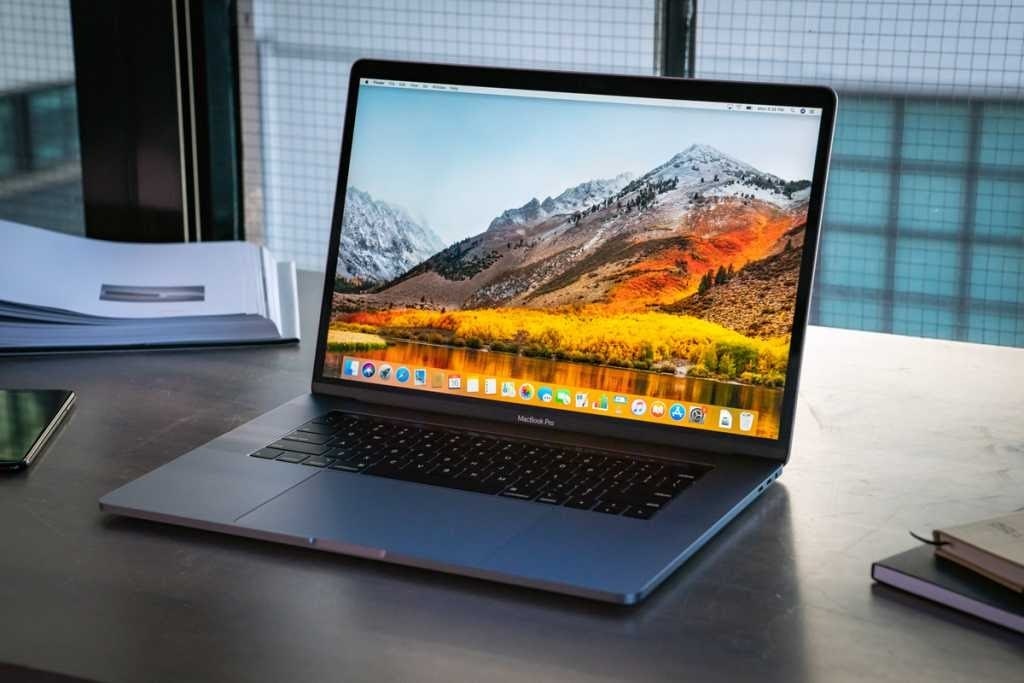
14. macOS 10.13 (High Sierra)

September 25, 2017: macOS High Sierra adds a new video standard called HEIC and a transition to Apple File System (APFS), which is an improved alternative to its predecessor file system HFS+. Apart from that, there are a few enhancements in Safari, Mail, and Photo — but nothing major.


source: Macworld

15. macOS 10.14 (Mojave)

September 24, 2018: That’s when things go dark. We mean Dark Mode! Mac users can now move through their day-and-night routine, with the colours of the screen moving with them, thanks to the Dynamic Desktop feature. More and more apps arrive from iOS, including Stocks, News, and Home.
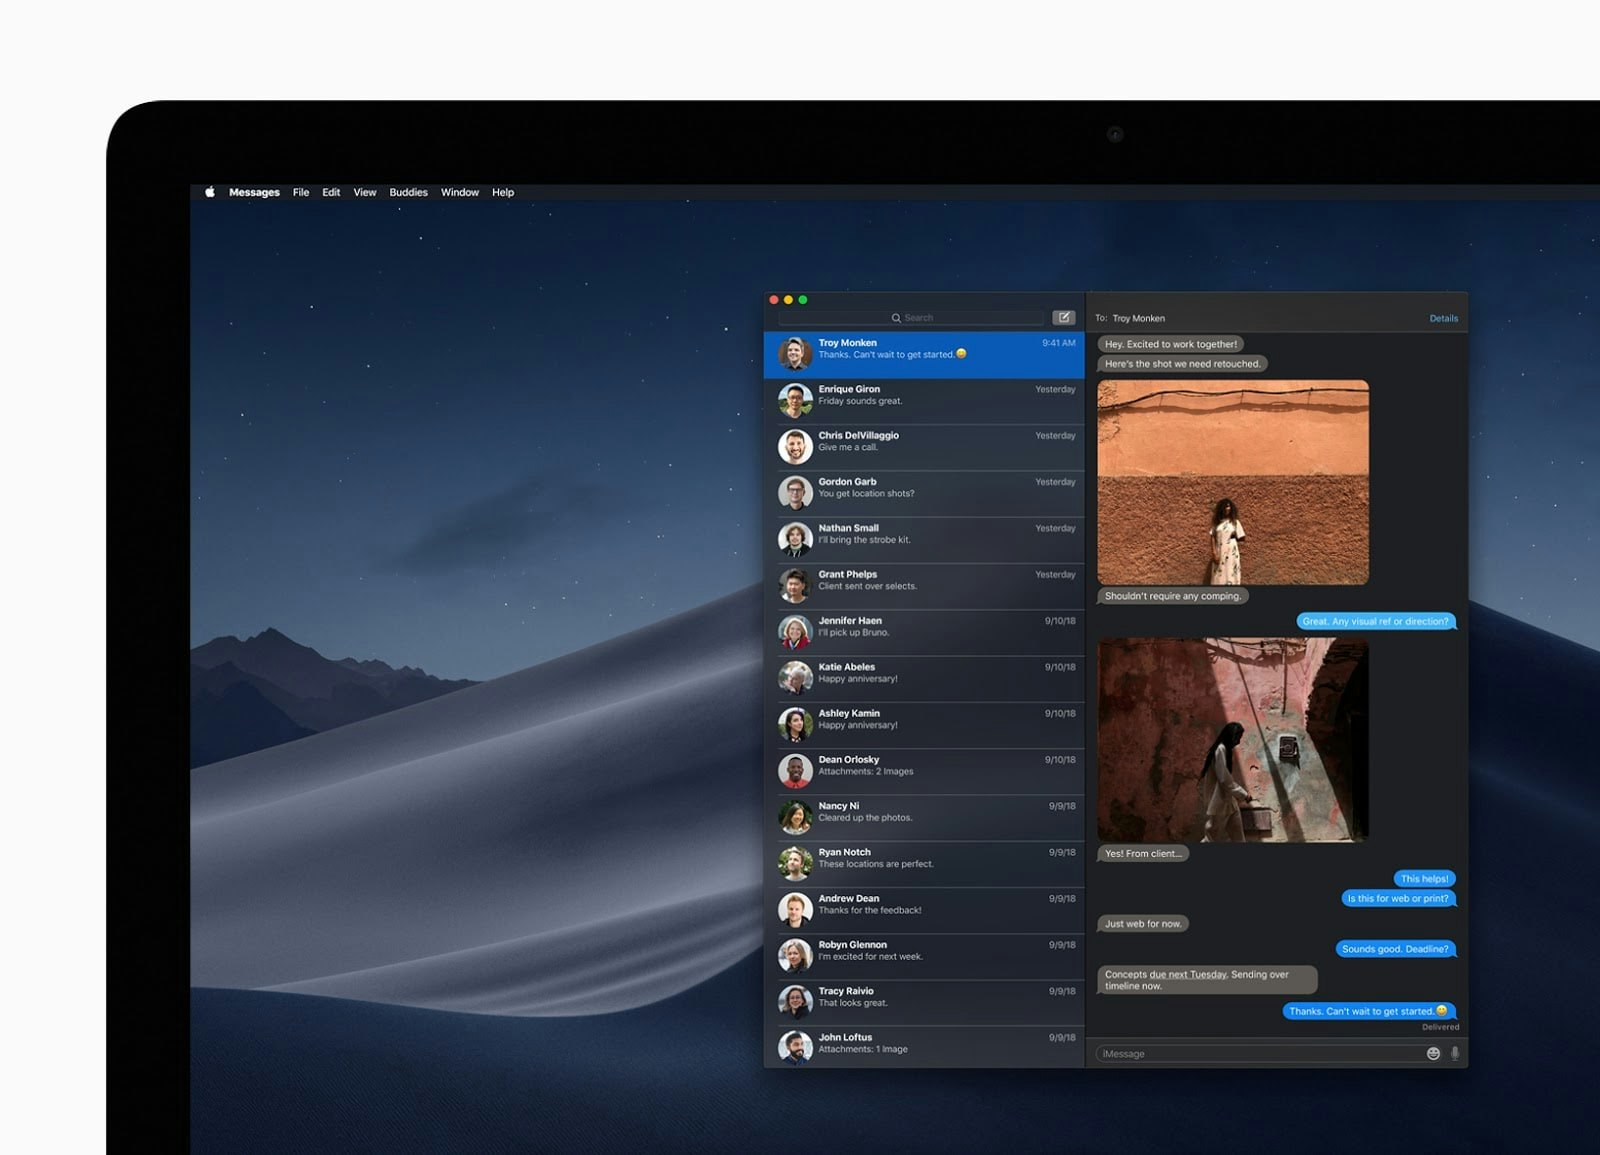


source: apple.com

16. macOS 10.15 (Catalina)

October 7, 2019: macOS Catalina marks the death of iTunes, splitting Apple’s top destination for media content into three dedicated apps — Music, Podcasts, and Movies. Apple continues aligning iOS and macOS with Sidecar, a feature that lets you connect an iPad screen to your Mac, and the ability for developers to port iOS apps to macOS.
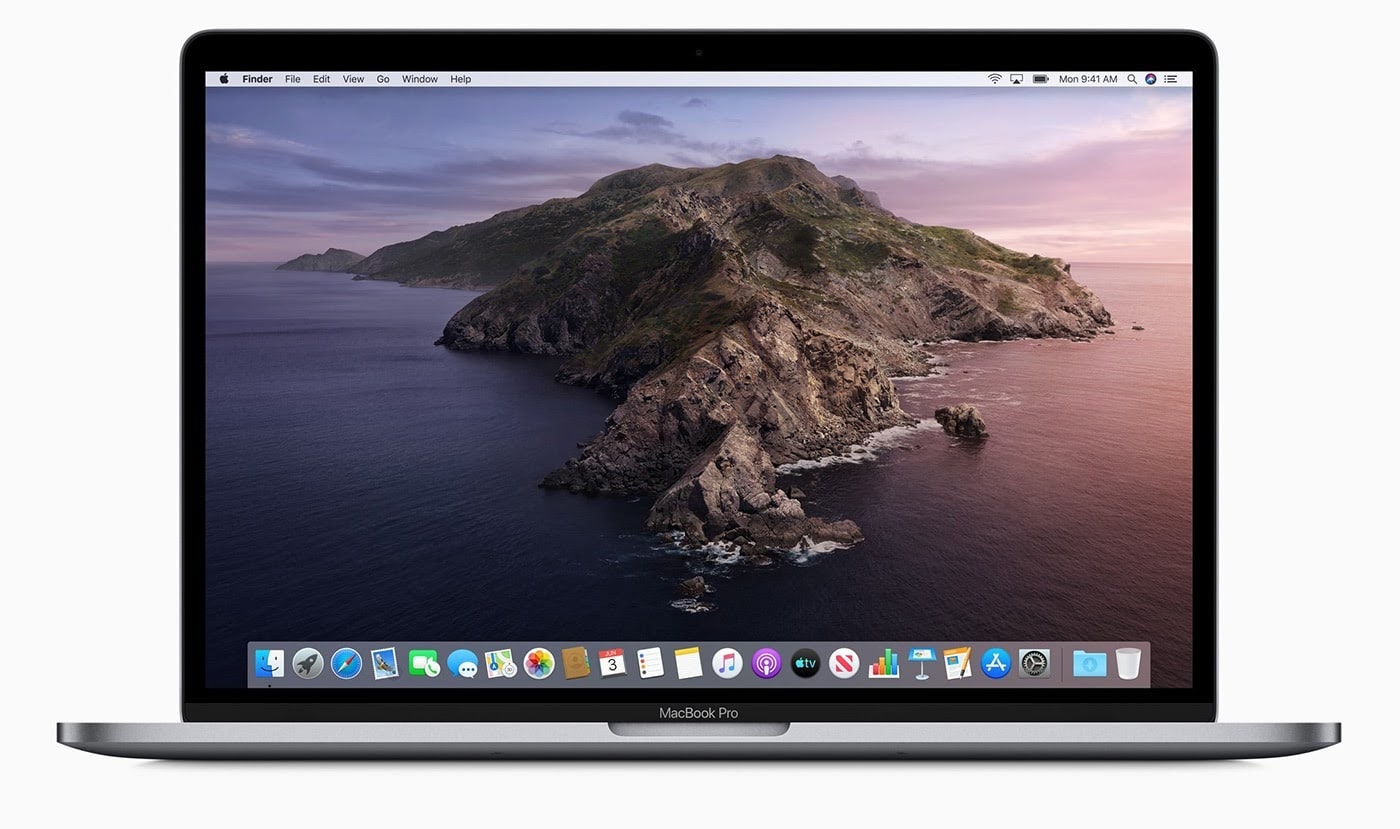


source: Mobile Review

17. macOS 11 (Big Sur)

November 19, 2020: There’s no macOS 10.16 because Big Sur deserves a more epic version name — 11.0. Bringing a huge design change and transition to Apple’s M1 Macs, macOS Big Sur is one to remember. This is the first operating system that allows running iOS apps natively on Mac — the so-called Universal apps.
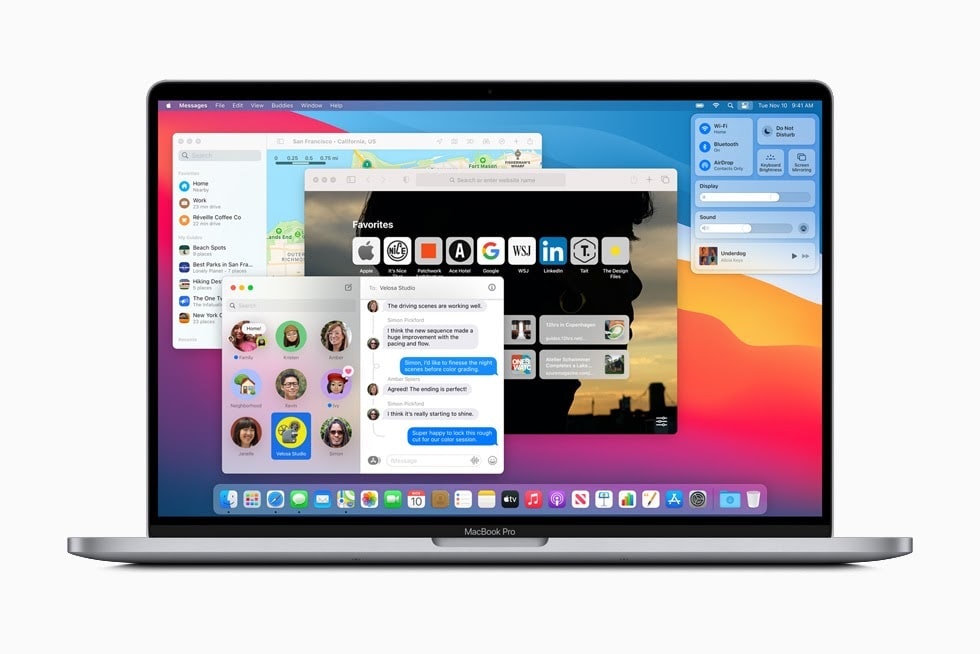


source: apple.com

18. macOS 12 (Monterey)

October 25, 2021: macOS Monterey brings Shortcuts — the ability to set up quick actions with different apps to automate your flow. Apart from that, there’s Universal Control, a natural transition across your Mac and iOS devices (for example, you can move your cursor between Mac and iPad); redesigned Safari with tab groups, and a range of cool FaceTime enhancements. More on macOS 12 Monterey.
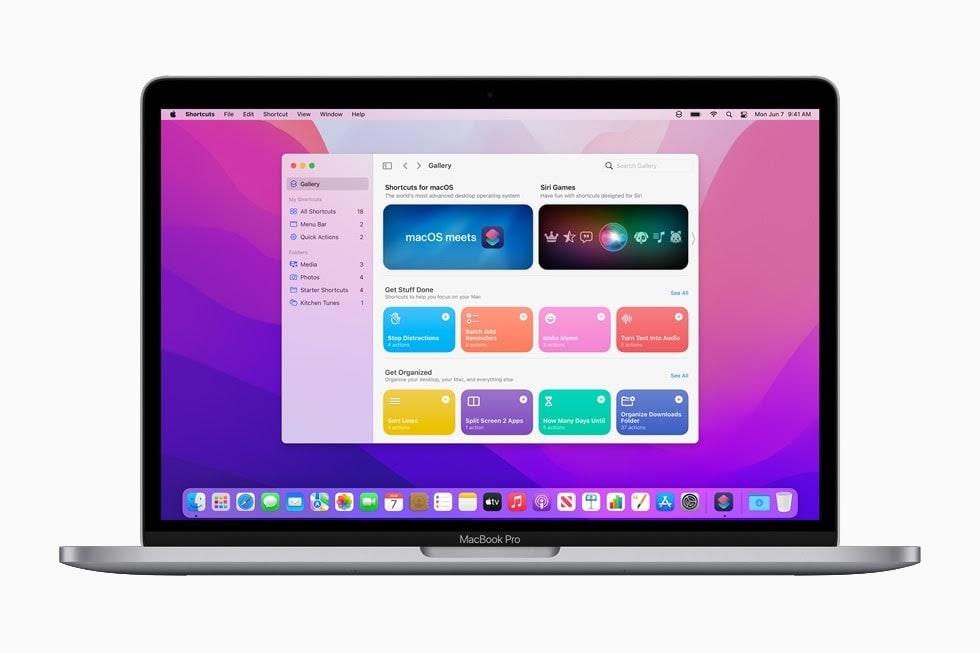
19. macOS 13 (Ventura)

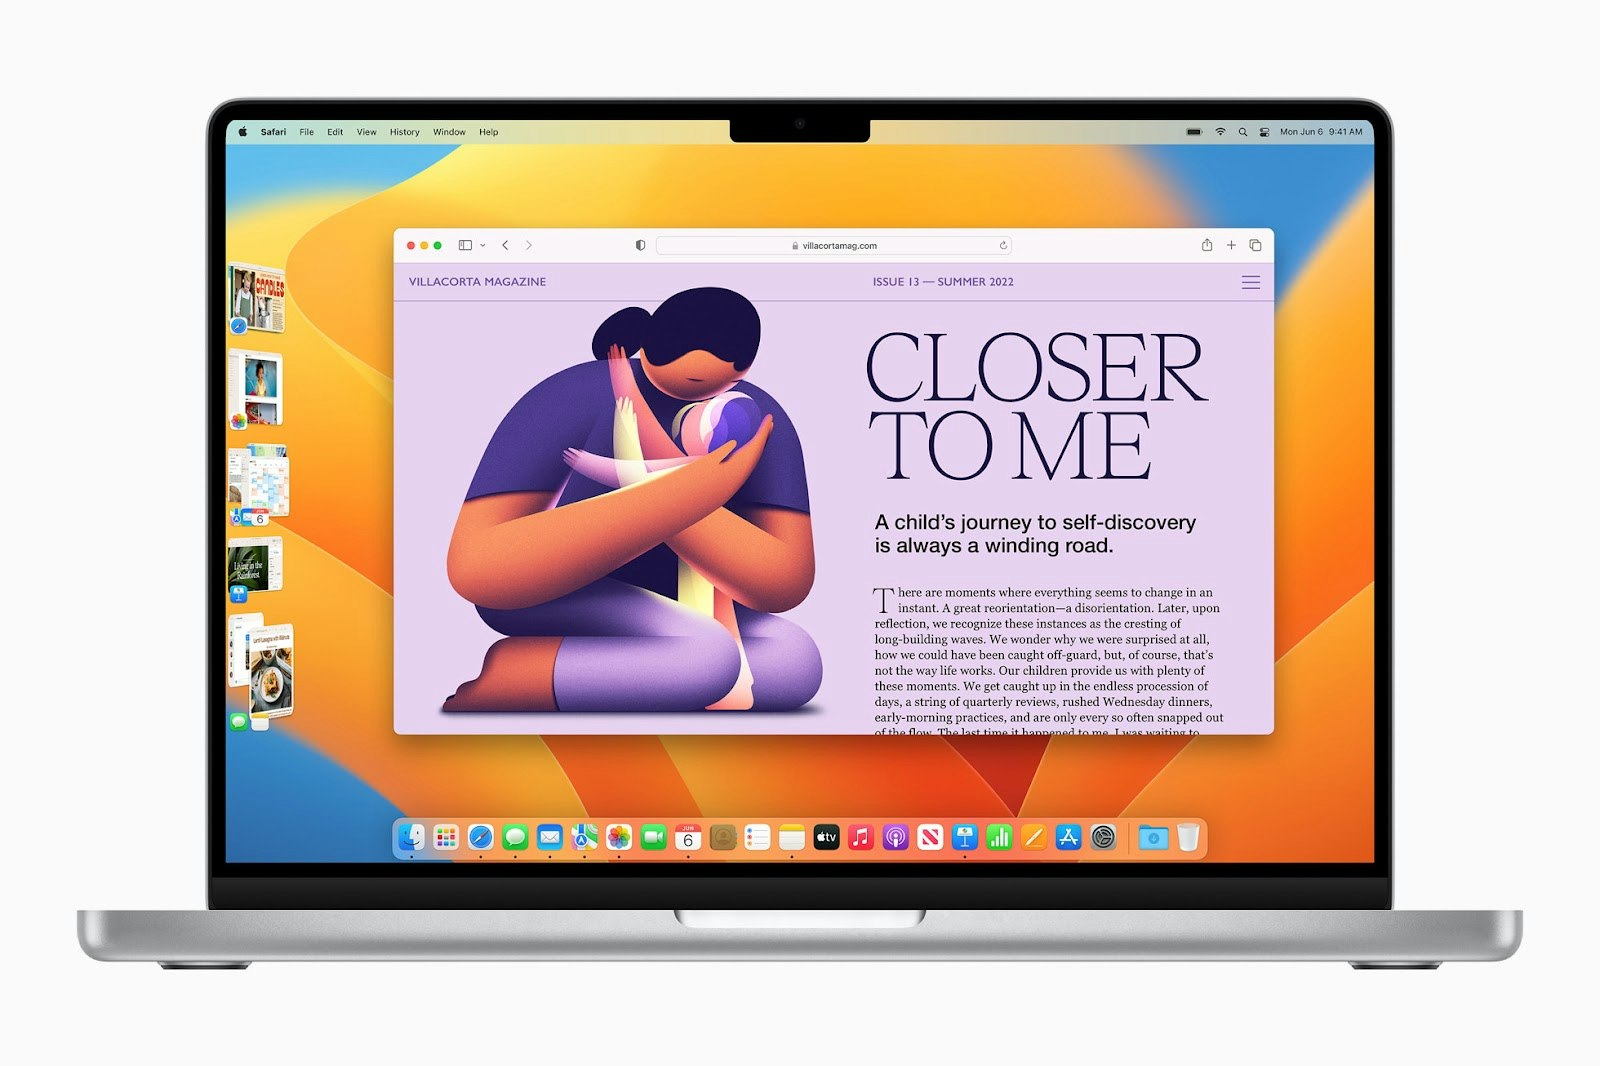
Fall 2022: macOS Ventura arrives with a major interface change, the feature called Stage Manager. While it’s opt-in, many users will default to Stage Manager because it’s a great way to transition between tasks and workspaces. Essentially, Stage Manager automatically organizes active windows into stacks, placed on the left side of the screen. Other Ventura goodies? Continuity Camera, Undo Send in Mail, and more. If you’re just getting started with this macOS version, make sure to keep the list of common Ventura problems at hand.


source: apple.com

What’s the latest macOS?

New operating systems for Mac not only bring new features, but also bring better performance, enhanced privacy, and better workflow for those working across devices. If you’re wondering whether to upgrade to the newest macOS, we’d say yes, it’s worth it.
How to check the latest macOS on your Mac

Before you upgrade, you should find out what your current macOS is. Some macOS versions can’t be "skipped." For example, if you want to upgrade to Lion, you should first install Snow Lion. Here’s how to check your operating system version on Mac (macOS 12 and earlier) Go to Apple menu > About This Mac
See the name of your current macOS in the Overview section
To check for pending macOS updates, choose Software Update.
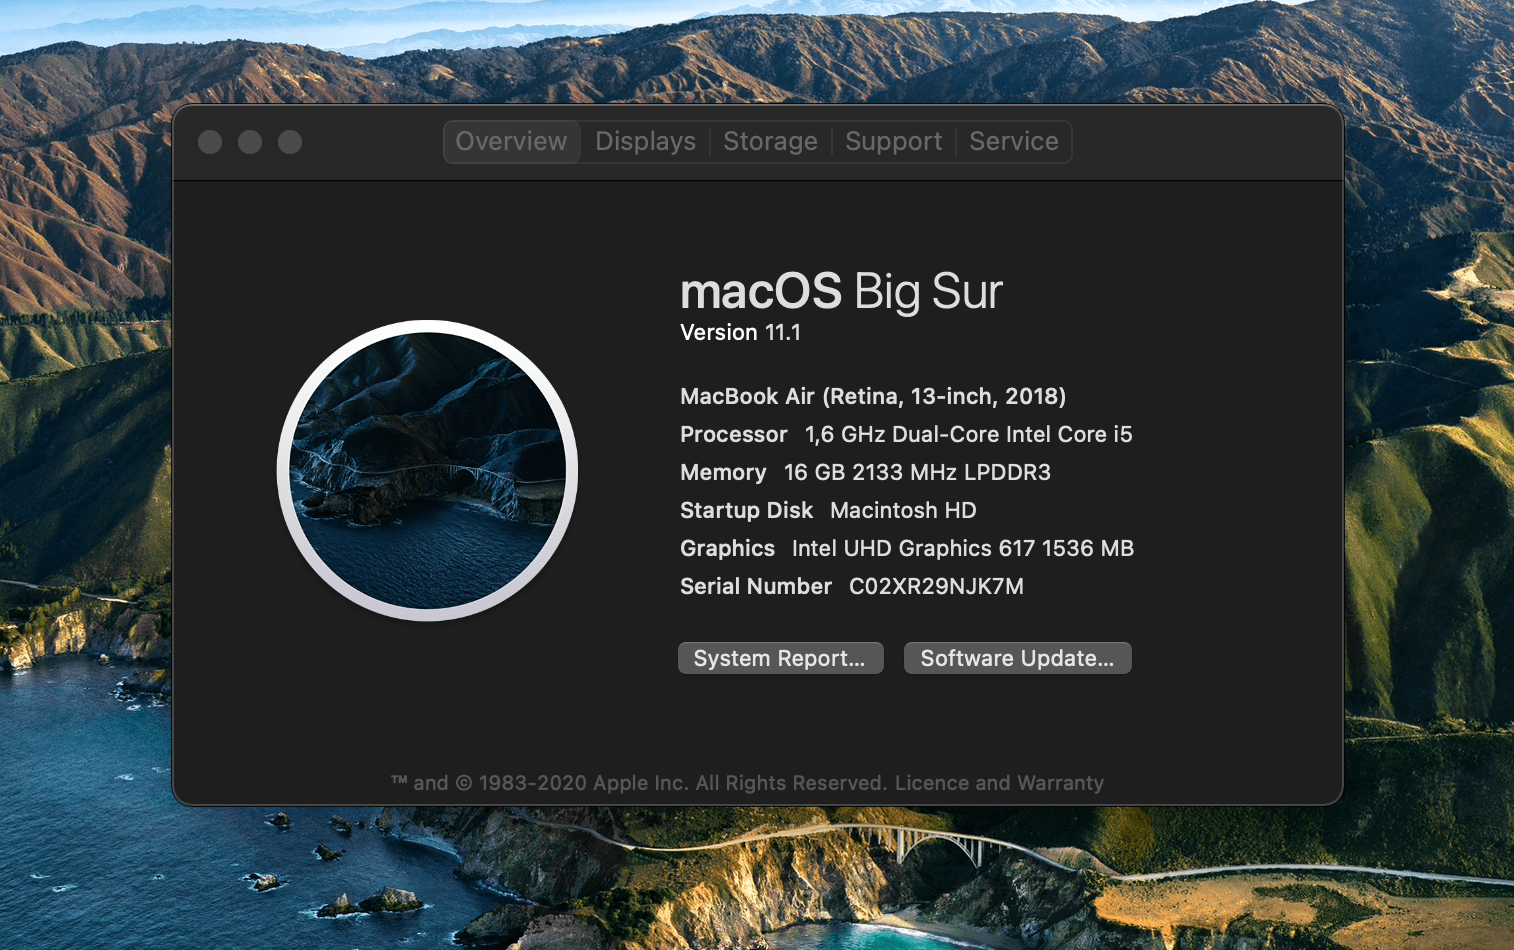


While Apple revamped System Preferences on macOS Ventura, the flow of checking your current macOS version is slightly different. You should go directly to System Preferences — now called System Settings — and find the Software Update tab in there.


Tip: If you don’t want to upgrade but feel like "you have to" because your Mac is slowing down or acting weird, don’t rush into it. Check what’s wrong with the iStat Menus app, a real-time system monitor that can identify any pitfalls in your system. Maybe some apps are putting pressure on your Mac or you’re low on storage. In this case, a macOS update won’t help.
How to update to the latest version of macOS

For older Mac OS X releases or the newest macOS, the process of updating operating systems follows the same logic: First, you backup your data to make it available on the new macOS
Second, make sure you have enough space on your Mac to install the new macOS
Third, you download and install the new update.

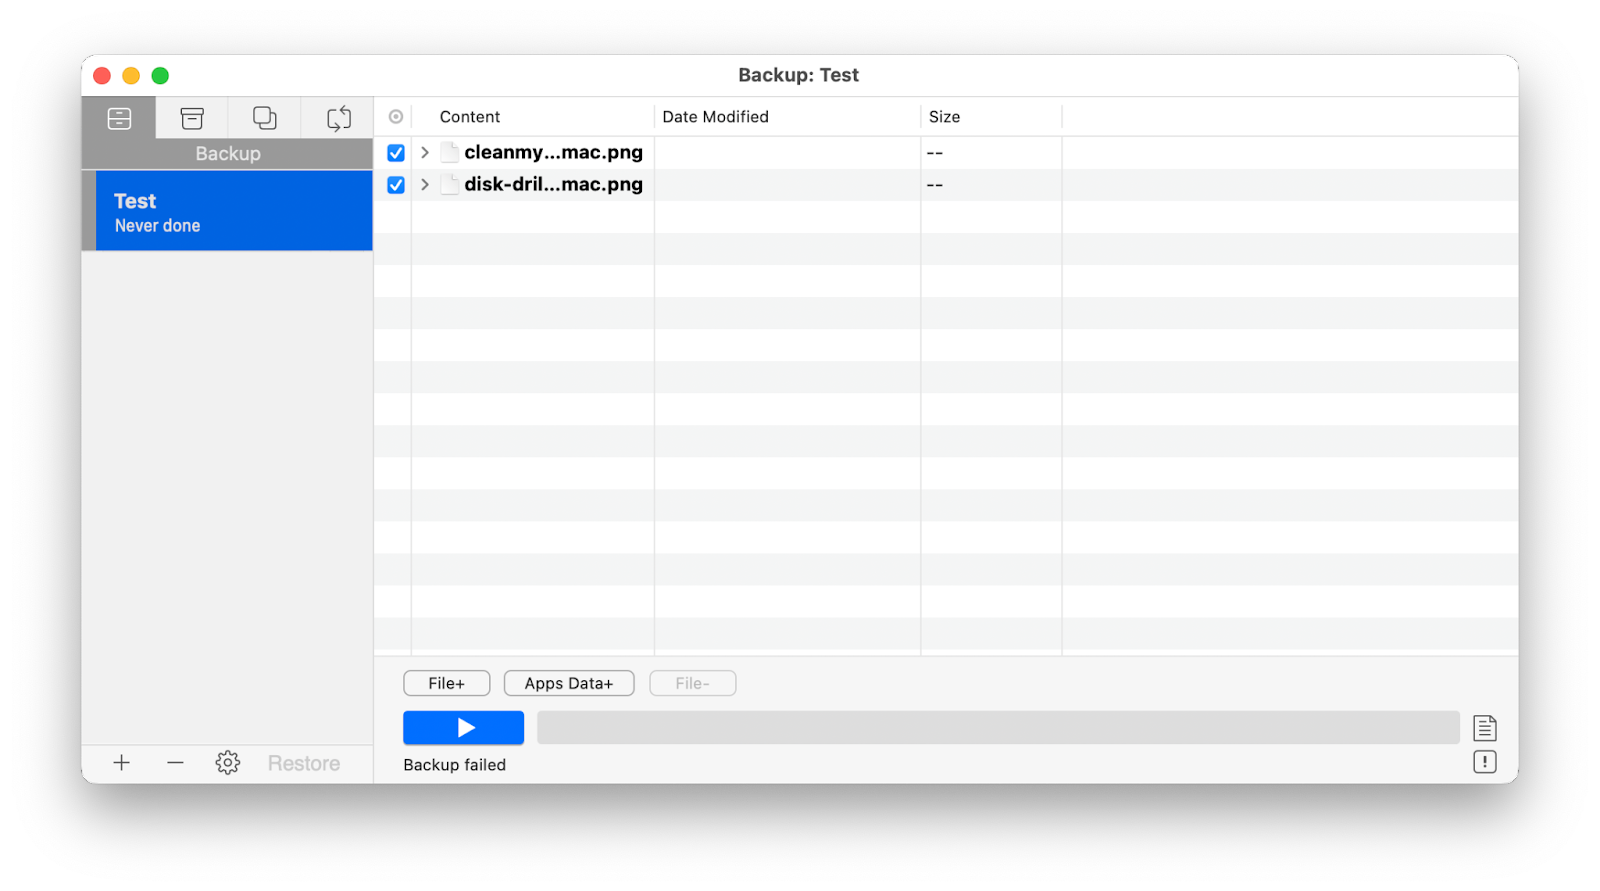
The first step is essential. Without securely backing up your disk, you might lose access to the images, docs, and whatever essential stuff is stored on your Mac. We recommend Get Backup Pro or ChronoSync Express to run a backup. The former can back up selected files and the latter does a great job backing up folders. So you don’t have to back up the whole disk, with all the clutter stored on it.

Here’s how to create a backup with Get Backup Pro: Click on the "+" button in Backups to create a new project
Choose a destination for your backup
Click File+ to add files for backup
Press Start.

Courtesy: setapp
What is the Best RAID Configuration for Your Server?

What is the Best RAID Configuration for Your Server?


RAID (Redundant Array of Inexpensive Disks) is a data storage virtualization technology that combines multiple disk drives into a single logical unit for faster performance, better hardware failover, and improved disk Input/Output reliability. Let’s go over some common questions regarding RAID and see what the best RAID configuration is for your server.

Does My Server Need RAID?
First of all, ask yourself if your server needs a RAID set-up. Whether to deploy RAID depends mostly on how important uptime is to your operations. If staying online is essential, RAID is your failover insurance.

Here’s the nightmare scenario: Your hard drive fails (hard drives always fail, just a matter of when, let’s just hope it’s not Cyber Monday).

Without RAID installed, your server and business will suffer downtime while the drive is being reconfigured and replaced. Then backups need to be restored; all this could take 5 or more hours easy.

With RAID installed, the drive would be replaced, and you could rebuild and sync the RAID from the old drive to the new drive, and there would also be no backup restoration required.

Hardware vs Software RAID

There are two types of RAID, each with their advantages and disadvantages.

Hardware RAID: With a hardware RAID setup, the drives connect to a RAID controller card inserted in the server’s motherboard. This provides optimal performance, as the processing is handled by the RAID card rather than the server, providing less strain when writing backups and restoring data.

Software RAID: When drives are connected to the server motherboard without a RAID controller, the configuration is managed by the Operating System’s software. This is the cheaper option; all you need to do is connect the drives and configure the OS. However, you are restricted to the RAID levels your OS can support.

Hardware RAID provides more flexibility via more configuration options and frees you from the limitations of a software RAID. Depending on the complexity of your RAID configuration, performance could be an issue if you are using software RAID.

What RAID Configuration is Best?
Not all RAID configurations are created equal in terms of redundancy, speed, or disk size.

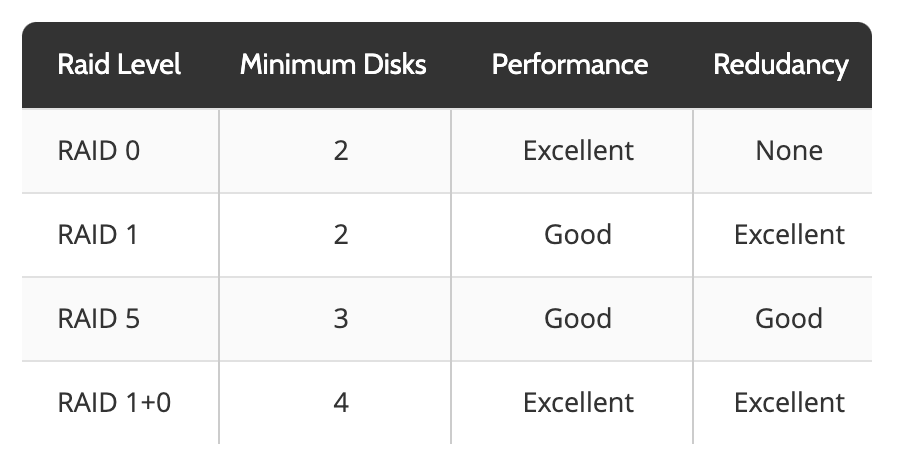
Some common RAID levels include RAID 0, RAID 1, RAID 5, RAID 10. Here is a very simple TLDR chart. Read on for a more detailed version of the pros and cons of each.


RAID 0
Summary: RAID 0 stripes data at the block level across each of the disks in the array. Because the data is striped across multiple disks, you will see improved read and write performance, especially for larger files. This is due to the ability of the array to simultaneously read or write a block to each of the disks in the array. As such, the performance will tend to scale with the number of disks within the array. A RAID 0 can contain two or more disks, with the maximum number being limited based on the number of disks supported by your RAID controller and available drive bays for your server. Because RAID 0 spreads storage blocks across all of the disks in the array, any disk failure will result in the entire array being lost. As such, the risk of data loss due to a drive fault will also scale with the number of disks within the array. We do not recommend using a RAID 0 for production systems.
*Capacity: VD = (C * n) | VirtualDisk = ( Capacity of one disk * number of disks )
*I/O Performance: Greatly improved read and write performance.
*Fault Tolerance: None, increased risk of failure that scales with number of disks in the array.

RAID 1
Summary: RAID 1 mirrors data at the block level on two disks. Each time a data block is written to the storage subsystem, your RAID controller will write that same data block on both disks, providing fault tolerance should one of the disks fail. Because of this, the I/O performance characteristics will have slightly lower write performance compared to a single disk, while read performance will be nearly double that of a single disk. This is because when the RAID controller needs to write data it has to do so on both disks, however, when it needs to read data it can simultaneously fetch two different reads from either disk since the data set on both disks is mirrored. Because the data is mirrored on both disks in the array, either one of the disks can fail, as log as one remains functional, without causing the array to fail. NOTE: While most hardware based RAID controllers typically only support two disks in a RAID 1 array, some controllers and software RAID systems may support more than two disks. In these cases, write performance will slightly degrade as the number of disks increase and the read performance will scale with the number of disks.

*Capacity: VD = (C * n) / n | VirtualDrive = ( Capacity of one disk * number of disks ) / number of disks
*I/O Performance: Slightly lower write performance with nearly double the read performance.
*Fault Tolerance: n / n

RAID 5
Summary: RAID 5 stripes data at the block level across each of the disks in the array, while also calculating parity data, which is distributed across the disks in the array to add fault tolerance. With a RAID 5 array, there will be one parity set distributed across the array, which allows for any one disk in the array to fail without causing the array to fail. Because the distributed parity needs to contain parity information for one disks worth of information, the raw space provided by the array will be the total capacity of all of the disks minus one disks worth of capacity. This is also why a RAID 5 has a minimum requirement of three disks. The I/O performance for RAID 5 will offer improved read and write performance, however, writes will not scale as linearly as a RAID 0 due to the RAID controller needing to perform the parity calculation and also store the resulting parity data. NOTE: While some software RAID systems support RAID 5, we do not recommend this in a production because all of the parity calculations will need to be done by your servers CPU rather than the dedicated specialized hardware controller that is designed to accelerate these types of calculations. As such, a software RAID 5 will see CPU load scale with disk I/O and can often cause overloads as disk writes increase.
*Capacity: VD = ( C * n ) – C | VirtualDrive = ( Capacity of one disk * number of disks ) – Capacity of one disk
*I/O Performance: Improved read and write performance.
*Fault Tolerance: n – 1

RAID 10
Summary: RAID 10 is a nested array containing RAID 0 of RAID 1 sets; in other words it is a RAID array of multiple RAID arrays. As such, this RAID level combines some of the performance characteristics of both RAID 0 and RAID 1. The I/O performance will be improved for both read and writes, which will scale differently based on the number of disks in the array. The read performance will scale with the number of disks in the array, while the write performance will scale with the number of RAID 1 sets in the array. For example, a RAID 10 with four disks will have two RAID 1 sets that are then part of a RAID 0, therefore the read performance will be nearly four times a single disk in the array, and write performance will be nearly twice that of a single disk. This RAID level offers a great combination of performance and fault tolerance. Half of the disks in the array can fail without the array failing. This is because one disk in each of the RAID 1 sets can fail without that RAID set failing. Because of these characteristics, you will notice that the minimum number of disks required will be four and the total must be an even number of disks, such that increasing the number of disks in the array is done in pairs of disks. While the number of disks required compared to the raw useable capacity is lower, this RAID level offers the best overall combination of performance and fault tolerance. This is a great option for read heavy databases or mixed work loads.
*Capacity: VD = (C * n) / n | VirtualDrive = ( Capacity of one disk * number of disks ) / number of disks
*I/O Performance: Improved write performance with greatly improved read performance.
*Fault Tolerance: n / 2
 
Does My RAID Need a BBU?
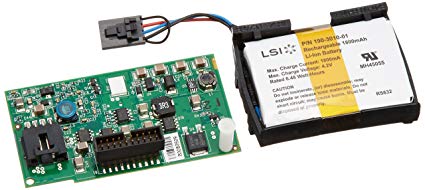
A BBU (battery backup unit) is a physical lithium ion battery that you connect to the RAID controller. This device that protects and maintains cached data that is on your server’s raid card.
Your bare metal server loses power before changes have left the cache and committed to disk, resulting in corrupted data. The contents on the RAID card become unrecoverable and you may not know what files are damaged. Essentially, a BBU is a data fail safe. 

Courtesy by : hostdime

Tuesday, March 21, 2023

WHAT IS LIFI TECHNOLOGY?

LiFi (light fidelity) is a bidirectional wireless system that transmits data via LED or infrared light. It was first unveiled in 2011 and, unlike wifi, which uses radio frequency, LiFi technology only needs a light source with a chip to transmit an internet signal through light waves.

The below video will tell you about the LiFi Technology

                                         Credit: Simply Logical & PureLiFi